
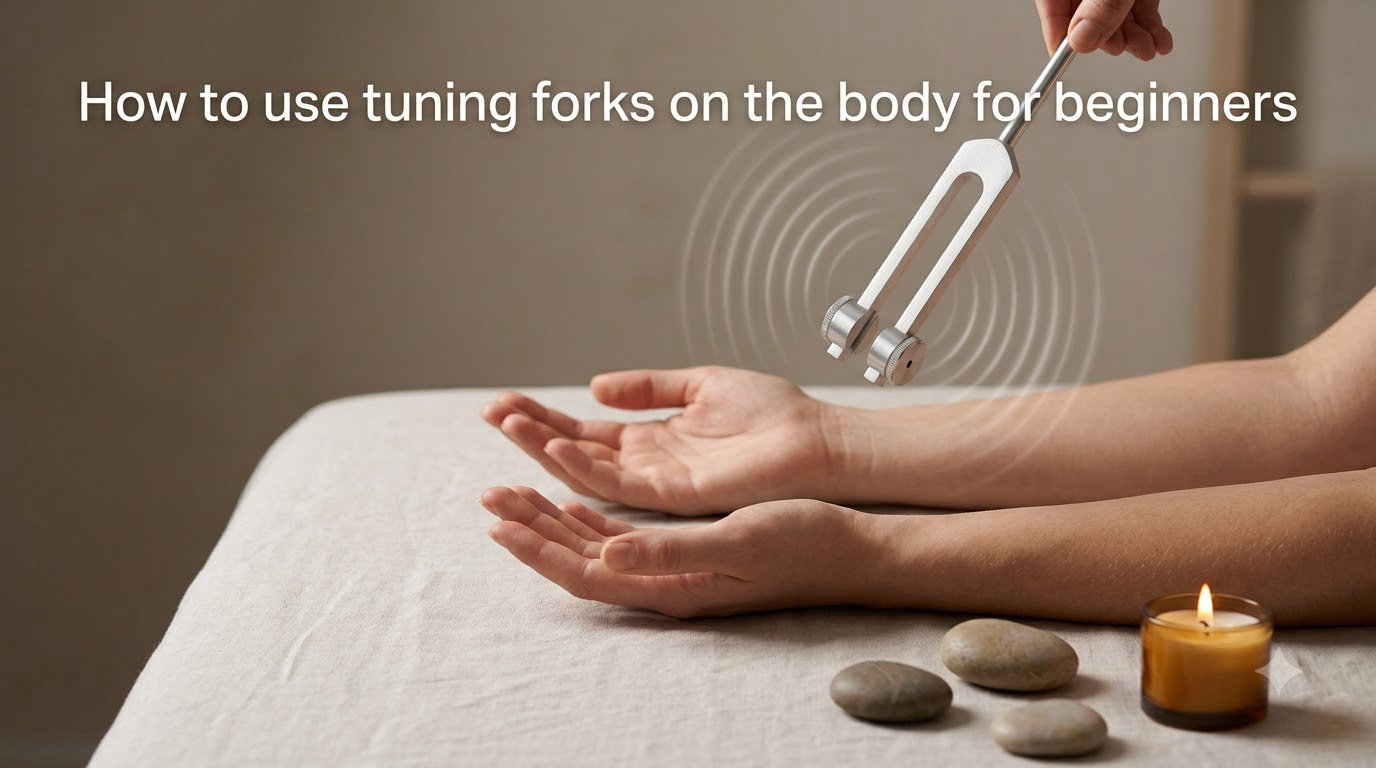
If you have ever wondered how to use tuning forks on the body for beginners, the short answer is this: pick a weighted fork around 128 Hz, strike it with a rubber mallet, and rest the stem against a calm area like your sternum, the soles of your feet, or the space just behind your ears. That single technique is enough to start feeling the practice work in your own living room, and it requires no musical training.
I have been working with sound tools for years, and tuning forks remain one of the most beginner-friendly instruments I keep coming back to. They are quiet, precise, and small enough to fit in a drawer. In this guide, I will walk you through everything you need to feel confident before your first session: what tuning forks actually do, which type to buy, how to strike them, where to place them, and the common mistakes I wish someone had warned me about earlier.
By the end, you will have a complete beginner routine you can run in under fifteen minutes, plus a clear sense of what to feel for, when to upgrade your toolkit, and how to know whether the practice is working for you.
Table of Contents
What Is Tuning Fork Therapy and How Does It Work?
Tuning fork therapy is a gentle sound healing practice that uses pure, calibrated vibrations to relax the body, ease tension, and support the nervous system. When you strike a tuning fork, it produces a single, steady frequency that travels through bone, tissue, and fluid far more efficiently than spoken sound does.
The science behind this comes down to resonance. Our bodies are roughly 60 percent water, and water carries vibration very well. When a tuning fork is placed on or near the body, that vibration moves through your tissues and into the bones of your skull and spine. The result is a direct, mechanical kind of calm that bypasses the thinking mind.
Research into sound and the nervous system points to a clear effect: specific frequencies encourage a parasympathetic response, which is the body’s rest-and-digest mode. Dr. John Beaulieu, one of the pioneers of the modern tuning fork practice, has written about how simple tones can shift brainwave states toward the slower alpha and theta ranges associated with deep relaxation. Eileen McKusick, another leading researcher, has mapped how tuning forks interact with what she calls the biofield, the electromagnetic field that surrounds the body.
For a beginner, the takeaway is simple: tuning forks do not require belief or ceremony. They produce a measurable physical vibration, and that vibration interacts with the nervous system in a way most people can feel within minutes. You are not chasing a mystical experience; you are giving your body a single, clear tone to organize around.
The practice also has roots in modern medicine. Doctors and neurologists have used 128 Hz tuning forks for decades to test vibratory sensation and nerve function. That medical pedigree is part of why the wellness world has been able to study and borrow the tool. Tuning forks are not new age inventions. They are precision instruments that translate well from a clinical exam room to a quiet corner of your home.
Weighted vs Unweighted Tuning Forks: Which Should Beginners Choose?
Weighted and unweighted tuning forks serve different purposes, and choosing the right one is the first decision you will make as a beginner. A weighted fork has small metal discs near the tips of its prongs. The extra mass slows the vibration and sends most of the energy down the stem, which makes it ideal for placing directly on the body.
An unweighted fork does not have those discs. It vibrates at a higher, brighter frequency that radiates outward through the air. That makes unweighted forks better for clearing energy around the body, working near the ears, or building a sound field in a room.
Here is a quick way to think about it:
Weighted tuning fork: Use when you want to place the stem on a body point, feel the vibration travel through bone, or target a specific area like the sternum, feet, or jaw.
Unweighted tuning fork: Use when you want to bring sound close to the ears, work in the energy field around the body, or create ambient sound in a room.
For a beginner, I recommend starting with a single weighted 128 Hz fork. It is the most widely used frequency in sound therapy, gentle on the body, and pairs well with almost any placement point. Once you are comfortable, a 136.1 Hz fork (the “OM” frequency) is a thoughtful second addition, and a 256 Hz fork is a clean third option if you want a brighter, lighter tone.
Material also matters. Aluminum forks are the most common and produce a clean, sustained tone. Steel forks are slightly heavier and last longer. Avoid cheap alloys with plastic handles. The vibration will feel muddy, and the fork may stop ringing after only a few seconds.
One last note on choice: buy from a seller that clearly labels the frequency in Hertz. A fork stamped only with a chakra name or a vague description is harder to trust. Real tuning forks are precision instruments, and the label should match the actual measured frequency within a small margin.
What You Need Before You Start?
Before your first session, gather a few small items. You do not need much, and most of it probably already lives in your home.
Tools and supplies:
One weighted tuning fork (128 Hz is the most common beginner choice)
A rubber mallet or soft activator (most forks ship with one)
A small cushion or foam block for safely silencing the fork when you finish
A glass of water within reach
A quiet room where you will not be interrupted for at least 10 minutes
Set the space: Dim the lights if you can. Silence your phone. Sit or lie down somewhere comfortable, ideally with a blanket. Tuning forks work best when your body is already beginning to relax, so give yourself two or three minutes of slow breathing before you even pick up the fork. A chair with a high back, a yoga mat, or a bed all work well.
Safety notes for beginners: Avoid placing a tuning fork directly on an open wound, a fresh surgical scar, or over a pacemaker. If you are pregnant, have epilepsy, or have any implanted medical device, check with your doctor before starting. Tuning forks are very safe for most people, but the vibration can be strong for sensitive areas.
When to skip a session: Skip tuning fork work if you are intoxicated, feverish, or in the middle of an acute medical episode. The body is already dealing with a strong input, and adding a vibration can feel overwhelming. Wait until you are baseline and calm.
How to Activate a Tuning Fork: 4 Beginner Methods
Activating a tuning fork simply means making it ring. There are four reliable ways to do this, and each one gives a slightly different tone and length of sound. Try each method once so you know which one feels best in your hands.
Method 1: Rubber mallet strike. Hold the fork by the stem in your non-dominant hand. Hold the mallet in your dominant hand. Swing the mallet in a smooth arc so it strikes one prong about one-third of the way down from the tip. One clean strike is usually enough. The fork should ring for 30 to 60 seconds.
Method 2: Activator ring or puck. If your fork came with a hollow rubber activator, slide the fork between your knees with the prongs facing outward, then squeeze the activator around the prongs and pull it away quickly. This pulls energy through the metal and produces a pure, sustained tone. It is the method most professional sound practitioners use.
Method 3: Palm-to-prong strike. Hold the stem in one hand and tap the rounded base of the opposite palm against one prong. This is a softer strike and is useful when you do not want an especially loud tone. I use this method when working near the ears or when a client is sensitive.
Method 4: Soft surface strike. For a softer, warmer sound, rest the prongs against a folded towel or your thigh and tap one prong lightly. This damps the high overtones and produces a very gentle hum that some beginners prefer for a first session.
After each method, avoid touching the prongs. Even a fingertip resting on the metal will stop the vibration almost instantly. Hold the fork only by the stem until the sound fades on its own. If you want to silence it faster, press the prongs against the foam cushion or the meaty part of your thigh. The vibration will stop in a second or two.
Step-by-Step: How to Use Tuning Forks on the Body
Once your fork is ringing, applying it to the body is straightforward. Follow this routine for a calm, beginner-level session that takes about 10 minutes. As you get more confident, you can extend it to twenty minutes or add more points.
Step 1: Activate the fork. Use your preferred method from the list above. One strike is plenty. Hold the fork by the stem, prongs pointing outward, away from your body.
Step 2: Ground yourself with three slow breaths. Inhale for four counts, exhale for six counts. Repeat three times. This primes your nervous system to receive the vibration. You can also visualize the breath moving down your spine and into your legs.
Step 3: Choose your first point. If this is your first time, start with the sternum. Place the rounded tip of the stem flat against the bone, with light pressure. You do not need to press hard. The fork should feel like a steady, gentle hum against the bone.
Step 4: Hold the fork still for 30 to 60 seconds. Let the vibration travel through the bone. Breathe normally. Notice any warmth, tingling, or softening in the chest. Some people feel emotion rise here. If you do, simply let it move through you without engaging it.
Step 5: Lift the fork away slowly. When the sound fades, rest the prongs against the cushion to silence any leftover hum. Take one slow breath.
Step 6: Move to your second point. A simple beginner sequence is sternum, then the soles of the feet, then the space just behind each ear. Three points is plenty for a first session. As the tone fades between points, you can re-strike the fork to extend the sound.
Step 7: Close the session. After your last point, rest your hands on your lap, take three more slow breaths, and notice how your body feels. Many beginners describe a quiet, settled sensation, similar to the first few minutes after a short meditation.
Step 8: Hydrate and ground. Drink a small glass of water and place both feet flat on the floor for a minute. This helps your body re-integrate the session and keeps you from feeling spacey or light-headed.
Common Body Placement Points for Beginners
You do not need to memorize dozens of points to get real benefits. Six well-chosen points cover most beginner needs, and each one offers a different felt experience. Spend a few sessions with one point before moving on to the next so you learn what each one feels like.
Sternum (heart center): The flat bone at the center of the chest. Vibration here tends to feel warm and calming. This is the easiest beginner point because the bone is broad and accessible. Many people describe a slow spreading of warmth through the chest and shoulders.
Soles of the feet: Place the stem on the center of one foot while seated. Vibration here often feels grounding and is a favorite point among beginners who feel “spinny” or overstimulated. The vibration also travels up through the ankles and lower legs.
Behind the ears (mastoid process): The bony lump just behind each ear. This point sits close to the vagus nerve, which is heavily involved in the parasympathetic response. Many beginners notice a quick shift in their breath here. Hold the fork on one side for thirty seconds, then switch sides.
Temples: Lightly rest the stem on either side of the forehead. This is a softer point and works well for tension headaches or eye strain. Avoid pressing too close to the eye itself.
TMJ and jaw: Place the stem on the hinge of the jaw, just in front of the ear. People who clench their jaw often feel immediate softening here. Work slowly and breathe through any tightness you feel.
Lower back or sacrum: This one is easier with a partner. The sacrum carries a lot of stored tension, and a weighted fork here can feel very relieving after long days at a desk. If you are working alone, lie on your back and place the fork against the lower spine area using a soft cushion for support.
Common Mistakes to Avoid as a Beginner
Most beginner frustration with tuning forks comes from a handful of very fixable mistakes. Here are the ones I see most often, and the small adjustments that solve them.
Striking the fork too hard. A heavy strike produces harsh overtones, not more volume. One gentle, clean strike gives the purest sound. If your fork sounds bright and tinny, you are hitting it too hard.
Touching the prongs. Even a small finger resting on the metal will kill the vibration. Always hold the fork by the stem alone, and keep your other hand away from the prongs.
Pressing too hard on the body. The fork does not need force to work. Light contact lets the vibration travel. Pressing hard actually dampens the tone and can feel uncomfortable on bony areas.
Skipping the relaxation step. Tuning forks work best on an already-relaxed nervous system. If you strike the fork the moment you sit down, you may not feel much. Two minutes of slow breathing first makes a real difference in how deep the session goes.
Giving up after one short session. Some people feel the vibration immediately. Others need a few sessions to notice subtle changes. Both responses are normal. Try at least three sessions before deciding how the practice feels for you.
Buying too many forks at once. A wall of ten tuning forks feels exciting at first, but beginners rarely know what to do with them. Start with one, learn it well, then expand deliberately.
Beginner Tips to Get the Most From Your Practice
A few small habits can quietly transform your tuning fork practice from a one-time experiment into something you actually look forward to.
Start with five to ten minutes per session. Longer sessions feel productive but can leave beginners overstimulated. Short, regular sessions beat long, occasional ones.
Keep a simple journal. After each session, write one sentence about how you feel. Over a month, you will see patterns you would otherwise miss, like which points calm you fastest or which times of day produce the strongest response.
Pair the fork with breathwork. Inhale slowly, strike the fork on the exhale, and let the tone carry through your next inhale. This pairing deepens the parasympathetic effect and gives the session a clear rhythm.
Try one point at a time for your first week. Switching between points before you know how each one feels can blur the experience. Once you understand the sternum, the feet, and the mastoid, then expand.
Schedule your sessions. Linking tuning fork work to an existing habit (right after morning coffee, or before bed) is the easiest way to keep the practice going past the first week.
Frequently Asked Questions
Can I do tuning fork therapy on myself?
Yes, you can do tuning fork therapy on yourself, and most beginners start this way. A single weighted fork, a quiet space, and a few calm minutes are all you need to begin. Many people use tuning forks at home daily for stress relief, sleep support, and meditation. The most accessible points to start with are the sternum, the soles of the feet, and the area just behind the ears. If you are working on hard-to-reach points like the lower back, a partner or a practitioner can help.
How to use tuning forks to heal the body?
To use tuning forks on the body, activate the fork with a rubber mallet, hold it by the stem, and place the rounded tip against a body point like the sternum, feet, or jaw. Hold it there for 30 to 60 seconds while breathing slowly. Repeat on two or three points per session. Beginners often feel warmth, tingling, or a sense of calm within the first session, especially when working near the vagus nerve behind the ears or the heart center on the sternum.
Do tuning forks really help heal your body?
Tuning forks do not replace medical care, but research and practitioner experience suggest they support the body’s natural relaxation response. The vibration travels through bone and tissue and can encourage the parasympathetic nervous system to engage, which is the state tied to rest, digestion, and recovery. Many users report reduced stress, easier sleep, and less muscle tension after consistent sessions. Results vary, so try a few sessions to see how your own body responds.
Which tuning forks should I start with?
Most beginners start with a single weighted 128 Hz tuning fork, which is the most widely studied and easiest to apply to the body. After that, a 136.1 Hz weighted fork (often called the OM frequency) is a popular second choice for grounding and meditation. A 256 Hz weighted fork is a good third addition if you want a brighter, lighter tone. Avoid buying large sets until you know which frequencies and feels work best for you.
How often should I use a tuning fork on my body?
For beginners, three to five short sessions per week is a sustainable rhythm. Each session can be as short as five to ten minutes. Daily use is also safe, but many people find that two or three well-spaced sessions per week give clearer results than back-to-back daily work. The most important variable is consistency, not frequency. Pick a schedule you can actually keep.
Final Thoughts
Learning how to use tuning forks on the body for beginners does not require a certificate, a studio, or a special belief system. It requires a single weighted fork, a quiet ten minutes, and a willingness to slow down long enough to notice what your body is already telling you.
The benefits compound quietly across weeks and months. Sleep deepens, the jaw unclenches, the breath slows on its own. None of that comes from a single dramatic session. It comes from showing up with one fork, three points, and a few slow breaths, again and again.
Start with one fork, one point, and one short session this week. Notice what shifts. That single step is the foundation of every deeper practice that follows.