
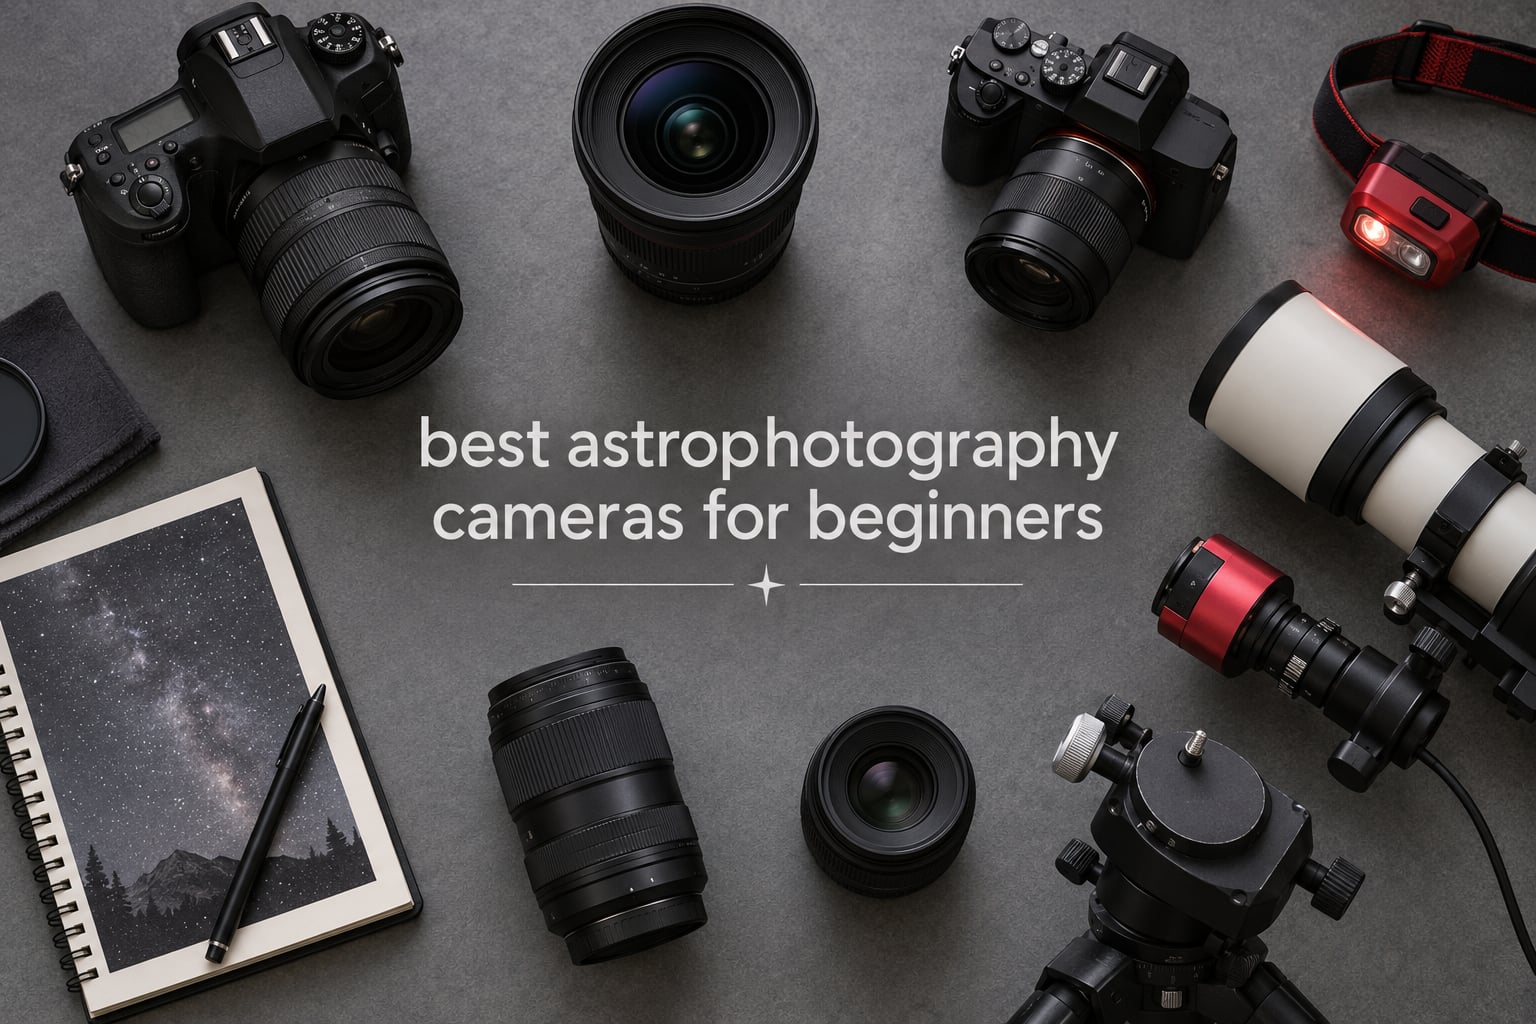
If you have been searching for the best astrophotography cameras for beginners, the hardest part is not finding cameras. It is filtering out the features that do nothing for you at night.
Autofocus, burst rate, video specs and in-body stabilization dominate every camera spec sheet. Under a dark sky, almost none of that matters. What matters is pixel size, read noise, manual exposure control, RAW capture, and how quietly the body behaves when you are adjusting it at three in the morning with a head torch on.
There are three sensible starting points. You might already own a DSLR and just need a body that shoots RAW at ISO 6400. You might be starting from nothing with a small budget and want the cheapest tool that reaches a nebula. Or you might want to start with a dedicated astronomy camera that bolts to the back of a telescope. We covered all ten bodies in this guide across those three routes, and we tell you which ones we would skip.
Every camera listed here was compared on the same four questions. Can it hold a manual exposure for the length of time your tracker needs. How large are the pixels. How much noise shows up when you push ISO. And what does the whole thing cost you once you add the lens and the mount, which is where most beginner budgets go wrong.
Table of Contents
Top 3 Picks for Beginner Astrophotography

Canon EOS Rebel T7
- 24.1 MP APS-C sensor
- ISO 100-6400
- Optical viewfinder
- Lightweight 1 pound body
Those three cover the most common beginner situations. The Rebel T7 is the body most people already own or will buy first, and its 24.1 megapixel APS-C sensor holds up well above ISO 3200. The Sony a6400 wins when you want fast frames and a bright electronic viewfinder for manual star focusing. The Nikon D7500 is the strongest all-round performer here, with a 20.9 megapixel DX sensor that reviewers repeatedly confirm holds faint nebula detail at high ISO.
Best Astrophotography Cameras for Beginners (October 2026)
Seven interchangeable-lens cameras and three dedicated astronomy cameras, sorted by what they are actually for. The two groups do completely different jobs, and putting them in the same ranking without labels is the single most common mistake in this genre.
| Product | Specifications | Action |
|---|---|---|
| Canon EOS Rebel T7 + 18-55mm Lens Kit |
|
Check Latest Price |
| Sony Alpha a6400 Mirrorless + 16-50mm |
|
Check Latest Price |
 Nikon D7500 DX-Format DSLR Body Nikon D7500 DX-Format DSLR Body |
|
Check Latest Price |
 Canon EOS 80D DSLR Body Canon EOS 80D DSLR Body |
|
Check Latest Price |
 Nikon D5300 24.2MP DSLR Body Nikon D5300 24.2MP DSLR Body |
|
Check Latest Price |
 Nikon Z 50 Mirrorless + 16-50mm Nikon Z 50 Mirrorless + 16-50mm |
|
Check Latest Price |
 Nikon Z50 II Mirrorless Two-Lens Kit Nikon Z50 II Mirrorless Two-Lens Kit |
|
Check Latest Price |
 SVBONY SV205 1.25-inch Telescope Camera SVBONY SV205 1.25-inch Telescope Camera |
|
Check Latest Price |
 SVBONY SV305C IMX662 Telescope Camera SVBONY SV305C IMX662 Telescope Camera |
|
Check Latest Price |
 SVBONY SV105 1.25-inch Telescope Camera SVBONY SV105 1.25-inch Telescope Camera |
|
Check Latest Price |
Rows one through seven are interchangeable-lens cameras you mount on a tripod or a star tracker. Rows eight through ten are dedicated astronomy cameras that sit in a telescope eyepiece port and record video of the Moon and planets.
1. Canon EOS Rebel T7 – The Best Starter Body You Can Already Own
Canon EOS Rebel T7 DSLR Camera EF-S 18-55mm f/3.5-5.6 is II Lens Kit
24.1 MP APS-C CMOS
ISO 100-6400 (12800)
3 fps
14-bit RAW
Pros
- Largest review base in this group
- Light 1 pound body that is easy to learn
- Optical viewfinder for manual framing of faint targets
- Wi-Fi transfer at the end of a session
Cons
- 9-point autofocus is dated
- 3 fps burst rate is slow
- Fixed LCD screen
The Rebel T7 is the camera most beginners already have in a cupboard. That alone makes it the sensible first recommendation, because the money you save can go into a star tracker instead of a body upgrade. Its 24.1 megapixel APS-C CMOS sensor runs ISO 100-6400 with a 12800 expansion, and owners report usable night-sky files through the middle of that range.
What I like for astro is the optical viewfinder. You can frame a faint target against the sky at night without the screen washing everything out, and there is no lag when you nudge the tripod. The 14-bit RAW output gives you the depth to recover shadow detail from a stacked frame, which matters when you are pulling a nebula out of a suburban sky.

The bundled EF-S 18-55mm f/3.5-5.6 IS II kit lens is the weak point. At f/5.6 it gathers roughly a quarter of the light of a fast f/2 prime, so nightscapes from the kit lens will be grainy. Shoot RAW, push to ISO 3200 and plan on replacing that lens with something faster when you can.
The 9-point autofocus and 3 fps burst rate draw complaints from owners, and both are fair. Neither touches long-exposure sky work, where you set focus once and leave the shutter open. The fixed 3-inch LCD also cannot flip around for low tripod angles, which is a real inconvenience when the tracker points at the zenith.

Who the Rebel T7 works for
It suits anyone who wants Milky Way arches, star trails and first deep-sky attempts on a tracker without learning a complex menu system. The controls are simple, the body weighs 1 pound, and it will not fall over your shoulder on the walk from the car to the field.
Pair it with a fast wide prime and a basic star tracker and you have a complete imaging rig. That combination also travels, because the whole setup fits in a small bag.
Who should skip the Rebel T7
Skip it if your only goal is planets or the Moon through a telescope. A body camera with fixed long exposures is the wrong tool for that, and you would be spending money on features you cannot use.
Also skip it if you already know you want a cooled sensor later. For the same money spread differently, a dedicated astronomy camera plus a used lens often produces cleaner deep-sky data.
2. Sony Alpha a6400 – Best for Fast Frames and Manual Star Focusing
Sony Alpha a6400 Mirrorless Camera: Compact APS-C Interchangeable Lens Digital Camera with Real-Time Eye Auto Focus, 4K Video, Flip Screen & 16-50mm Lens – E Mount Compatible – ILCE-6400L/B, Black
20.1 MP stacked Exmor RS CMOS
11 fps burst
4K UHD
14-bit
Pros
- 11 fps burst speeds up stacking sessions
- Stacked sensor delivers clean high-ISO files
- Compact body with tilting touchscreen
- Built-in time-lapse for star trails
Cons
- Single memory card slot
- Bundled 16-50mm is slow at the long end
- Dense menu layout for first-time users
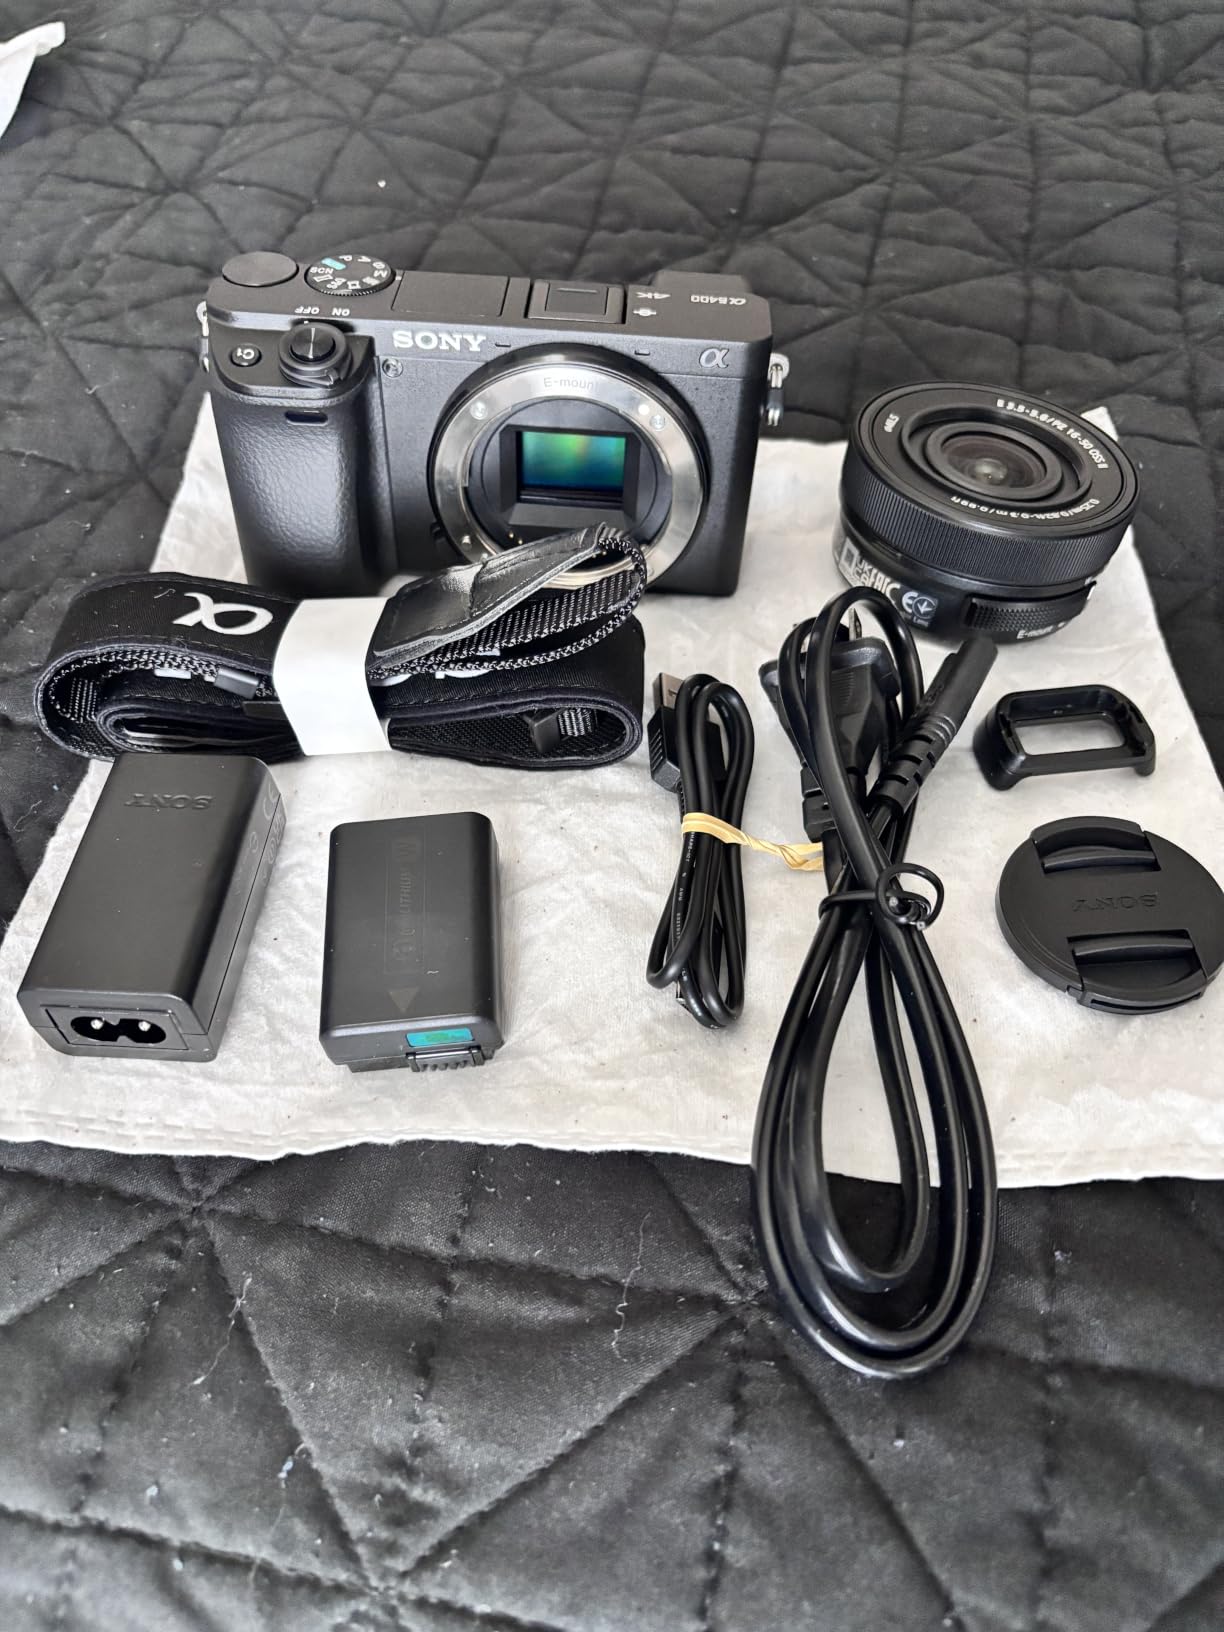
The a6400 pairs a 20.1 megapixel stacked back-illuminated Exmor RS sensor with an 11 fps burst rate. For astrophotography, those two numbers together are the interesting part. A fast burst means you collect a full stacking sequence in a fraction of the time, and the stacked sensor design pushes more light into each pixel than a conventional CMOS layout.
The electronic viewfinder is the feature I would point at first. You can raise its brightness to make faint stars visible while you focus, which turns a painful manual-focus routine into a two-minute job. That same brightness boost is why this body handles dark-sky focusing so much better than an optical finder at the same moment.

Owners report strong dynamic range at base ISO, which translates into real recoverable detail in a stacked nebula frame, with no complaints about long-exposure still quality. The 3-inch 180-degree tilting touchscreen also helps when the camera is mounted with the lens pointing steeply upward.
The single card slot is the most repeated complaint, followed by the bundled 16-50mm f/3.5-5.6 lens. That zoom is slow at the tele end and wide open it is nowhere near fast enough for clean nightscapes, so treat it as a placeholder. The dense menu system puts off first-time camera buyers but costs nothing to learn over a week.
Where the a6400 earns its place
This is the body to buy if you already have fast Sony E glass or plan to. The mount has strong third-party lens support, so adapted manual-focus primes are easy to find, and a fast manual lens is all a tracker setup needs.
It also suits beginners who want one camera for daylight and night. Video, autofocus and a tilting screen all stay useful in normal photography, so nothing is wasted when the sky is cloudy.
Where the a6400 falls short
It is not the cheapest way into the hobby, and the single slot means no backup for a long night of subs. One card failure at a dark site can cost a whole evening.
If your budget is small and a star tracker is still ahead of you, put the savings toward the tracker. The lens and the mount decide your results more than this body does.
3. Nikon D7500 – The Best All-Round Night-Sky DSLR
Nikon D7500 DX-Format Digital SLR Body
20.9 MP DX CMOS
ISO to 6400 and beyond
8 fps
51-point AF
Pros
- High-ISO files confirmed on night-sky shots
- 8 fps speeds up stacking
- 51-point AF with 15 cross-type sensors
- Tilting touchscreen for tripod framing
Cons
- Single memory card slot
- No depth-of-field preview
- Steep learning curve for newcomers
The D7500 is the pick we would hand someone who wants one body to last through a few years of learning. Owners regularly report usable results at ISO 3200 to 6400 on night-sky frames, which is the range you actually live in. The 20.9 megapixel DX sensor is described by Nikon as equivalent to the D500 for image quality, ISO range, processing and metering.
An 8 fps burst rate means a 50-frame stacking run finishes in well under a minute. That matters more than raw megapixels, because each frame gets its own noise pattern and stacking averages them away. Faster frames also mean you make more use of the hours before dew, cloud or fatigue end the session.

The 51-point AF array with 15 cross-type sensors is far more than astro needs, but it helps if you also shoot wildlife. The 3.2-inch 922k-dot tilting touchscreen is useful for framing on a tracker, and the top control layout keeps ISO and shutter settings away from buried menus.
The single card slot comes up constantly, and there is no depth-of-field preview, which matters more for close-up astro work than the spec sheets suggest. The steep learning curve is real for newcomers. The body is also heavier at 1.7 pounds than the entry bodies it replaces.

Best reasons to buy the D7500
Choose it if you want real high-ISO headroom without moving to full frame, and if you already have or plan to buy Nikon F-mount lenses. The F-mount ecosystem has the deepest second-hand market of any system, so a fast manual prime costs very little on the used market.
It is also the body we would pick for galaxies and faint nebulae rather than wide nightscapes, because usable high-ISO files matter more than field of view at that point in the hobby.
Reasons to look elsewhere
This is not a body to buy with no lenses and no idea what you are shooting. If your total budget barely covers the body, an entry DSLR plus a fast lens and a tracker gets you a first stacked image sooner.
Those who want the smallest possible pack for backcountry sessions should skip it. The weight adds up when you are also carrying a tracker, a head torch and a dew heater.
4. Canon EOS 80D – Best High-ISO Headroom in an Older Body
Canon Digital SLR Camera Body [EOS 80D] with 24.2 Megapixel (APS-C) CMOS Sensor and Dual Pixel CMOS AF – Black
24.2 MP APS-C CMOS
ISO 100-16000 stills
45 cross-type points
7 fps
Pros
- ISO 16000 ceiling for demanding nights
- Dual Pixel AF helps manual astro lenses
- Articulating screen for low tripod angles
- 45 all cross-type AF points
Cons
- No 4K video
- Heaviest body here at 3.3 pounds
- Older mount with no stabilization
The 80D stands out for one reason: ISO 100-16000 for stills. That ceiling gives you room to shoot faint targets from a light-polluted backyard when a faster lens is not an option. Owners report reliable low-light performance for long-exposure work, and 85 percent of reviews are five star.
Dual Pixel CMOS AF in Live View is underrated for astronomy. Most astro lenses are manual focus, but with an adapter on an EOS body you can use magnified Live View to get close to focus before switching to manual. On a body with only a viewfinder, that step means fiddling with thin focus rings in the cold.
![Canon Digital SLR Camera Body [EOS 80D] with 24.2 Megapixel (APS-C) CMOS Sensor and Dual Pixel CMOS AF - Black customer photo 1](https://www.drunvalo.net/wp-content/uploads/2026/10/B01BUYK04A_customer_1.jpg)
The 45-point all-cross-type array is sensitive down to EV 3, and the articulating touchscreen tilts out far enough for awkward tripod positions. At 7 fps it still fills a stacking sequence quickly. Canon EF and EF-S glass is abundant on the used market, which is where this body makes the most sense.
Its age is the drawback. There is no 4K video, the mount has no stabilization, and at roughly 3.3 pounds it is the heaviest body in this group. Buyers who want modern video should look at the mirrorless options instead.
![Canon Digital SLR Camera Body [EOS 80D] with 24.2 Megapixel (APS-C) CMOS Sensor and Dual Pixel CMOS AF - Black customer photo 2](https://www.drunvalo.net/wp-content/uploads/2026/10/B01BUYK04A_customer_2.jpg)
Who should look at the 80D
The 80D suits a Canon user who wants more reach through a telescope than a kit lens gives, and who values adapting old EF glass rather than buying new. It is a sensible step up for someone who started on an entry Rebel and outgrew it.
For faint nebulae shot in bright skies, the extra ISO ceiling is the reason to choose it. Everything above ISO 6400 on most APS-C bodies is where stacking starts to rescue you instead of the sensor.
Who should pass on it
Pass if you need 4K video or a lighter pack. Both are hard requirements for many buyers today, and neither is negotiable for them.
Also pass if you have no lenses at all. Body-only means you are starting from zero on glass, and the money for a fast prime is usually better spent elsewhere in a first setup.
5. Nikon D5300 – Best Budget Route Into Nikon Glass
Nikon 1519 D5300 24.2MP CMOS Digital SLR Camera with Built-in Wi-Fi and GPS (Black)
24.2 MP DX CMOS
EXPEED 4 processor
39-point AF
Vari-angle LCD
Pros
- Cheap door into Nikon F-mount glass
- Vari-angle screen for tripod framing
- Usable 12 or 14-bit RAW output
- Built-in GPS tags dark site locations
Cons
- No in-body image stabilization
- 39-point AF system is dated
- Body only with no lens included
The D5300 is the cheapest way onto the Nikon F mount, and the mount is the reason to consider it. Because entry Nikon bodies have been made for years, the second-hand market is full of manual-focus and adapted lenses at prices you will not see for newer systems.
The 3.2-inch swiveling vari-angle LCD goes further than a tilting screen. It rotates out to the side, so you can frame a shot with the camera on a tracker at an awkward angle without crouching in front of it. The 24.2 megapixel DX sensor outputs 12 or 14-bit RAW, and the EXPEED 4 processor handles the noise reduction.

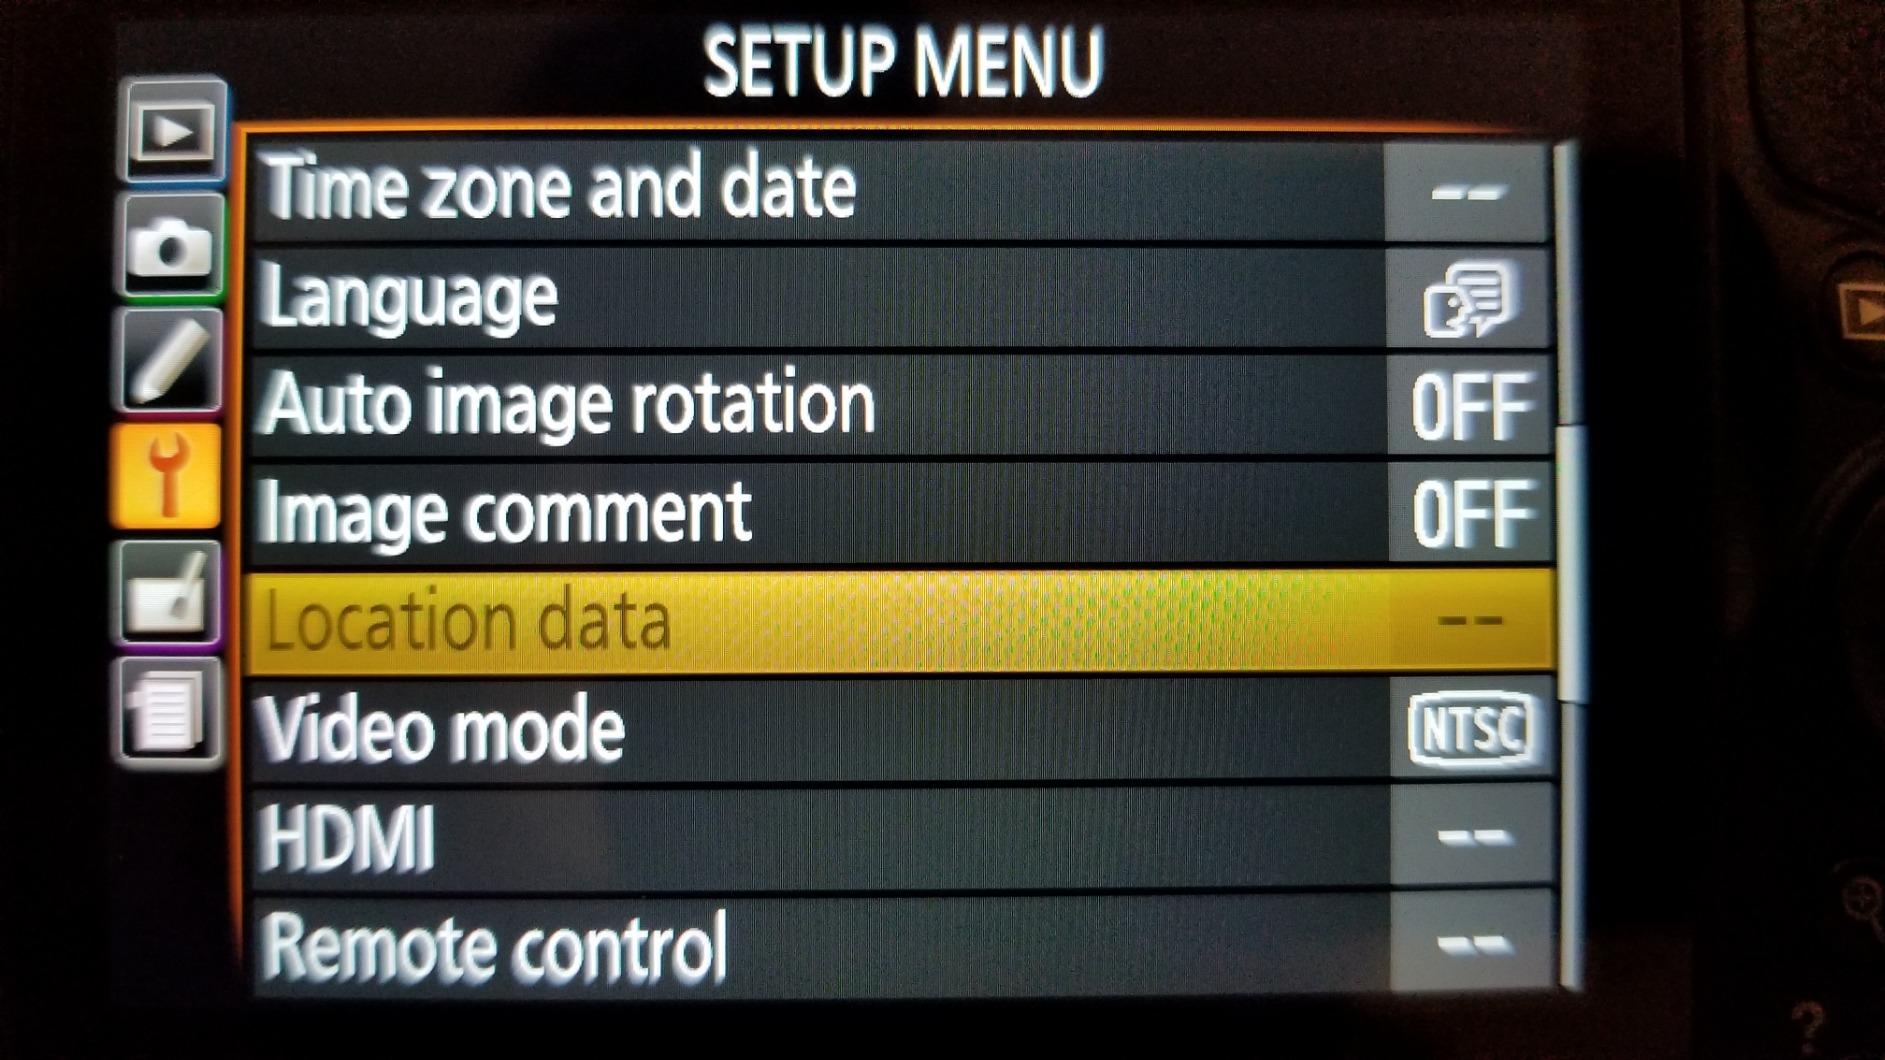
Built-in GPS is a small feature that earns its place. You can tag each dark site you shoot from and return to the same spot months later when the sky is clearer, which matters more than it sounds when you are hauling gear in the dark.
There is no in-body image stabilization, though that barely matters on a tracked mount where the stars are already fixed. The 39-point AF array is dated, but again, astro work is manual. Expect a single card slot and no second buffer.
Where the D5300 makes sense
Pick it if you have found a cheap fast prime in the Nikon F-mount and you want a body to put it on. The pairing does the job: manual focus, RAW capture, long exposures and a vari-angle screen for framing.
It also works for people who want to keep one camera for family photos. The GPS, the screen and the autofocus are all normal camera features rather than astro compromises.
Where it does not
Do not buy it expecting modern performance at high ISO. For demanding nights, the D7500 sensor is the better long-term home for the same mount and glass.
Skip it if you have no plan to buy a lens. With the body sold on its own, the first thing you will do is spend money on glass anyway, so compare the totals before you commit.
6. Nikon Z 50 – The Smallest Body for Remote Dark Sites
Nikon Z 50 with Wide-Angle Zoom Lens | Compact mirrorless Stills/Video Camera with 16-50mm Lens | Nikon USA Model
20.9 MP DX CMOS
55mm Z mount
11 fps
Electronic viewfinder
Pros
- Pocketable for remote dark sites
- Wide 55mm Z mount accepts fast primes
- Bright electronic viewfinder for focusing
- Flip-out screen for tripod framing
Cons
- Single memory card slot
- Bundled 16-50mm is slow at the tele end
- F-mount lenses need the FTZ adapter
At 14.4 ounces the Z 50 is the camera in this guide you can carry all day without noticing, and that changes how much you shoot. Nikon built it around the wide 55mm Z mount, which is unusually wide for a DX body and gives third-party lens makers room to design fast wide primes for it.
The electronic viewfinder is the reason astro shooters like it. Nikon’s finder is bright and high resolution, so you can magnify and focus a faint star at night without a separate magnifier. The 11 fps burst also helps you gather a stacking sequence quickly.

Owners highlight the wide Z mount for fast astro glass, which suits travel-based night shooting where weight and lens width are the deciding factors. Bluetooth and Wi-Fi through SnapBridge make it simple to pull frames onto a phone at the end of a session.
The single card slot and the slow bundled 16-50mm f/3.5-6.3 VR are the repeated complaints. There is no stabilization in the body, only in the lens, which is harmless on a tracker. Reusing older F-mount glass needs the separately sold FTZ adapter, a cost worth including in your comparison.

Who the Z 50 suits
It suits anyone shooting from locations with a walk-in, a hike or a long carry from the car. A body that fits in a jacket pocket changes how often you go out, and going out more is the single biggest factor in improving.
It is also a good choice if you want fast wide primes later. The 55mm mount is where lens designers are putting the effort in the DX range right now.
Who should choose something else
Skip it if you already own a set of F-mount lenses and do not want to buy an adapter plus new glass. The saving on the adapter disappears quickly once you price the lenses.
It is also not the choice for a system built around old manual-focus glass. That workflow suits a DSLR body with a plain optical viewfinder and a deep used-lens market.
7. Nikon Z50 II Two-Lens Kit – Two Lenses Out of the Box
Nikon Z50 II with Two Lenses | Compact mirrorless Stills/Video Camera with Easy Color presets and Wireless Photo Sharing | USA Model
20.9 MP DX CMOS
231 hybrid AF points
4K UHD at 60p
Two DX lenses
Pros
- Two stabilized DX lenses included
- 4K UHD at 60p and 120p slow motion
- 31 Picture Control presets with cloud support
- Compact body with a tilting screen
Cons
- 5 fps burst is slow for stacking
- Single card slot
- Kit cost sits near full-frame territory
This kit bundles the body with a 16-50mm f/3.5-6.3 VR and a 50-250mm f/4.5-6.3 VR, which covers both ends of a night-shooting session. The wide zoom handles skies and the 50-250 gives you real reach on the Moon, so a beginner does not have to buy glass on day one.
The 20.9 megapixel DX sensor is several times larger than a smartphone sensor while the body stays compact. For astro, the useful part is the sensor size, because a larger surface collects more of the faint light that a phone sensor simply cannot see at long exposure.
The 231-point hybrid autofocus with subject detection across nine types is aimed at daytime shooting, not stars, where you focus manually anyway. The 31 Picture Control presets and the pop-up flash are the same story. We list them because they are real features of the kit, not because they help at night.
There is no dedicated astro or long-exposure control beyond manual mode, which is normal for a mirrorless body. The 5 fps burst is slow for stacking, so a run takes longer than it would on a faster body. The kit cost also sits near full-frame territory, which is worth weighing against a body plus a used lens.
Who should buy this kit
Buy it if you want a complete kit with no extra shopping, or if a family member will use the telephoto lens during the day. Two stabilized DX lenses in the box removes the most common reason a first plan falls apart.
It also makes sense for someone who wants to try the Moon and planets through the 50-250 before deciding whether a telescope is worth the next step.
Who should skip it
Skip it if your main target is faint deep-sky objects. You will end up replacing both kit lenses with a fast wide prime, which costs more than the kit difference and leaves you with two spare lenses.
Anyone who has a Nikon body already gains very little here, since lenses are not shared across the range of kits.
8. SVBONY SV205 – Best First Camera for a Telescope
SVBONY SV205 Telescope Camera,1.25″ 7.05MP IMX415 Astrophotography Camera
7.05 MP IMX415 sensor
1.25-inch eyepiece port
30 fps at 1080p
Manual focus
Pros
- Lowest-cost route into real astro video
- Plug and play with no drivers to install
- Fits any 1.25-inch eyepiece port
- 30 fps suits bright planets and the Moon
Cons
- Not suited to deep-sky long exposures
- 1/2.8-inch sensor limits resolution
- Needs SharpCap or AstroDMx capture software
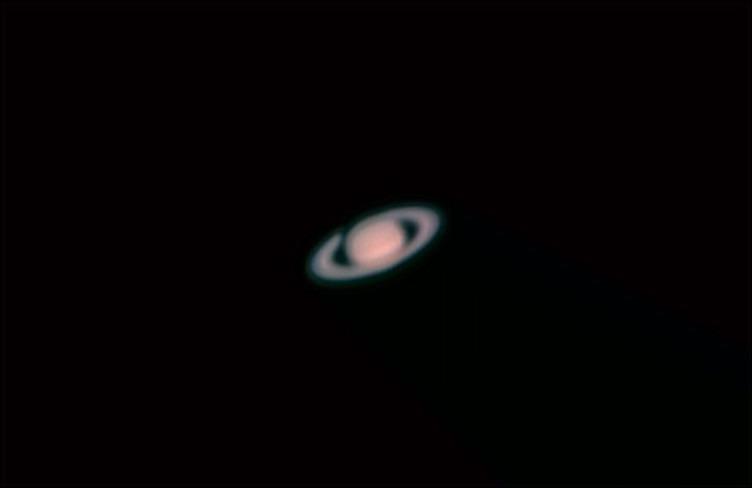
This is a different category entirely. The SV205 drops into a telescope eyepiece port and streams live video to a laptop, rather than sitting on a tripod with a lens. It has a 7.05 megapixel IMX415 sensor with 1.45 by 1.45 micron pixels on a 1/2.8-inch chip, delivering MJPG at 30 fps up to 1920 by 1080.
For the Moon and for planets, that is exactly the right shape of tool. Bright targets give you plenty of light, the small sensor produces a small image scale that matches a telescope eyepiece, and video lets you stack thousands of frames to beat the seeing. That is why planetary imagers record video rather than taking stills.
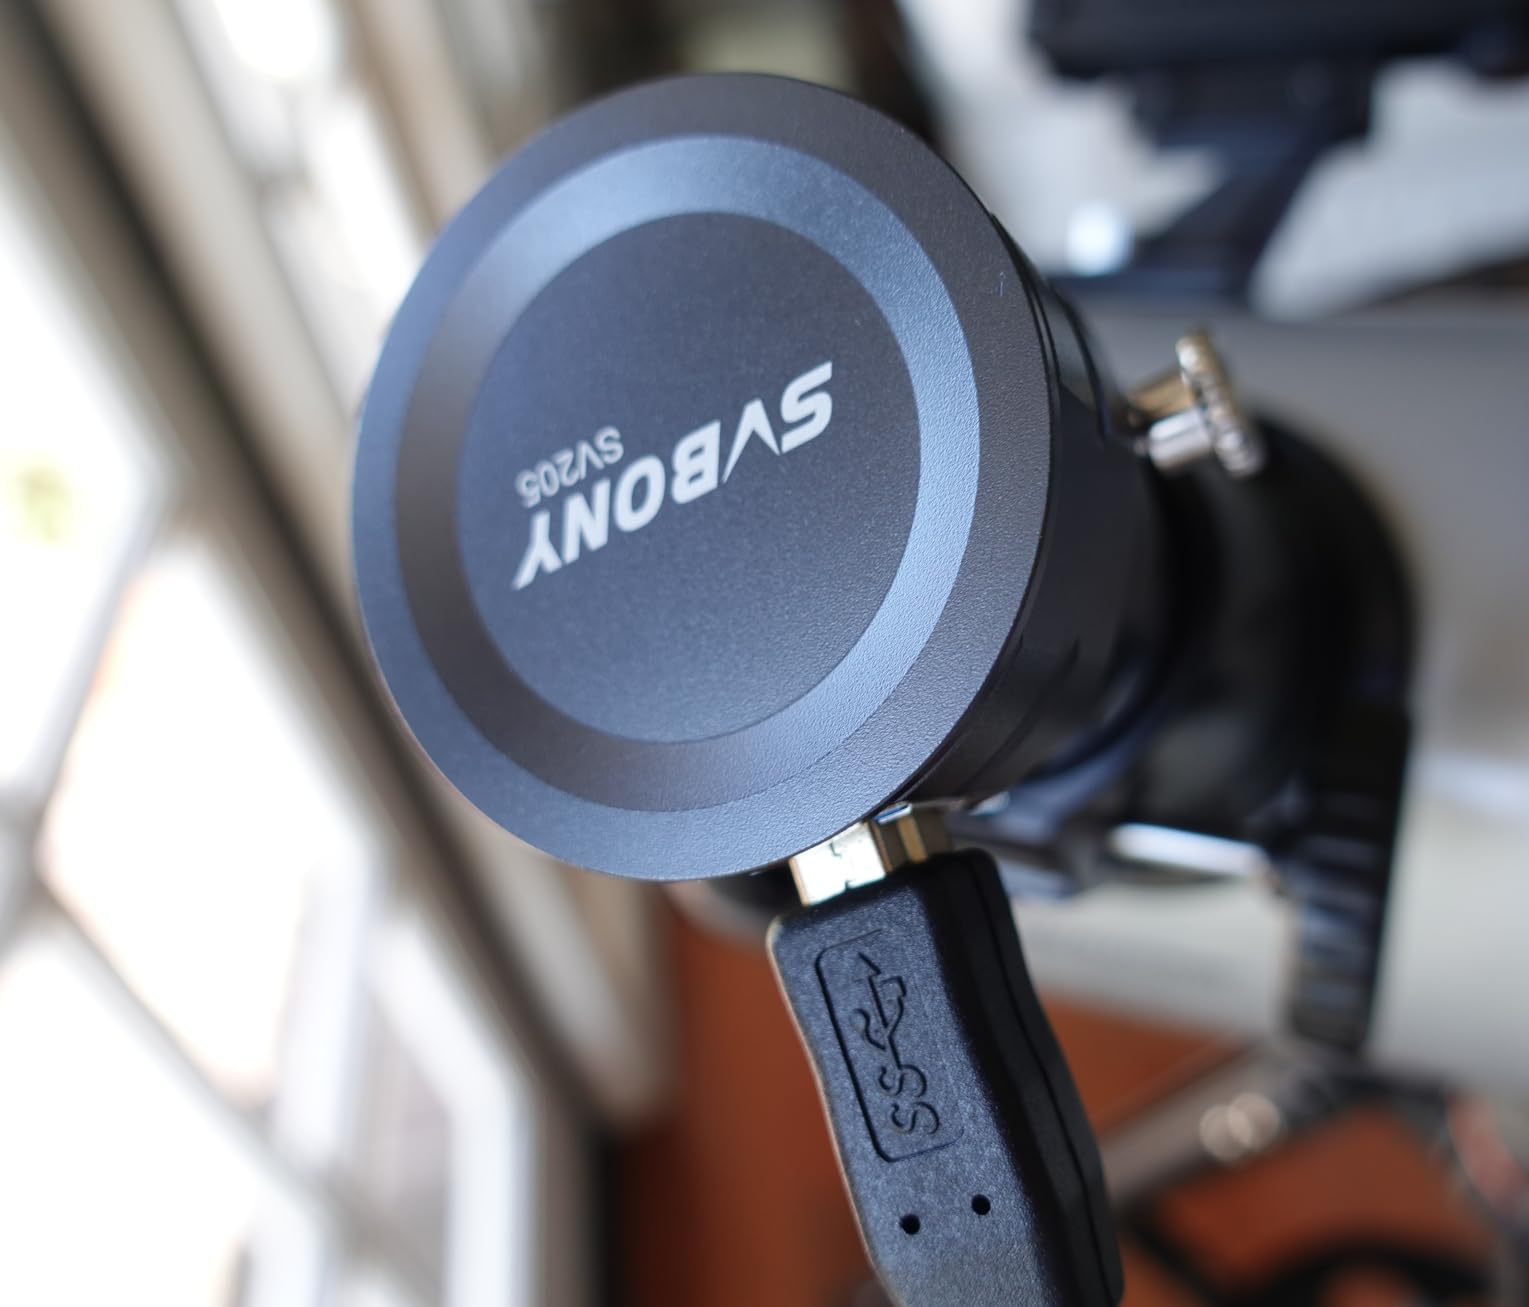
It is plug and play with no driver, and the machined 1.25-inch barrel connects straight to most telescope eyepiece ports. Dark light compensation in the image processor helps low-light clarity. Owners pointing this at Jupiter or the Moon report sharp, colourful results and appreciation for the simple setup.
Be clear about the limits. This is not a deep-sky camera, and one-star reviews come from buyers who expected nebula frames. You also need capture software such as SharpCap or AstroDMx, and some telescopes need an adapter for the eyepiece interface.
Where the SV205 shines
It suits a beginner who already has a telescope and wants to see what imaging from it looks like before investing in a mount. Pointing it at the Moon on the first evening produces a result the same night.
It is also the cheapest way to learn planetary stacking, because the mistakes you make with frames and software are the same ones you would make later with a far more expensive camera.
Where it will disappoint
Do not expect faint galaxies, nebulae or anything requiring minute-long exposures. The small sensor and short exposure times make deep-sky targets effectively invisible.
If you do not own a telescope yet, this is the wrong purchase order. Buy the camera after the scope, not before, so you know which eyepiece interface you need.
9. SVBONY SV305C – Best Back-Illuminated Entry Telescope Camera
SVBONY SV305C Astrophotography Camera, 2.1MP IMX662 Color Telescope Camera
2.1 MP IMX662 sensor
2.9um pixels
38ke full well
128MB buffer
Pros
- Back-illuminated sensor with no glow
- Red-band sensitivity helps planetary colour
- One-key planetary and long-exposure modes
- Buffer and ROI reduce dropped frames
Cons
- 2.1 MP resolution limits fine detail
- Needs capture software and a USB port
- UV and IR cut filter cannot be removed
The SV305C is a step up in sensor design over the simplest eyepiece cameras. Its 1/2.8-inch IMX662 is back-illuminated, which means the circuitry sits behind the light-gathering layer instead of in front of it. That single design change reduces glow and lifts sensitivity, and owners specifically praise the red-channel response it gives planetary colour.
The 2.9 micron pixels sit behind about 38ke of full well capacity, which gives faint Jupiter moons room before the frame blows out. Low readout noise and no glow mean you can push gain without the magenta haze that spoils cheaper sensors.
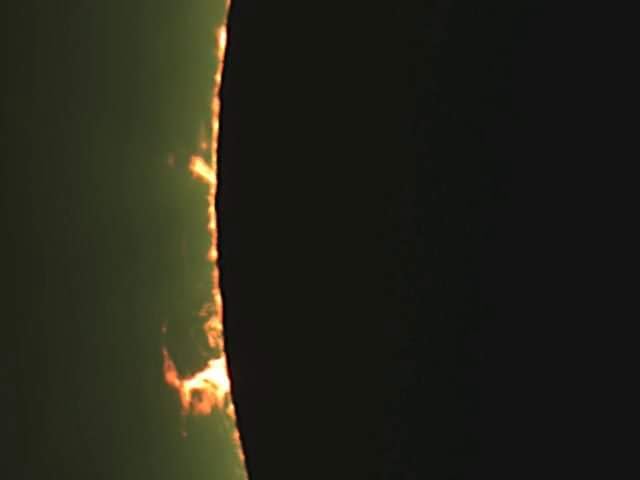
The 128MB DDRIII buffer caches frames when the USB link is interrupted, and the ROI function holds image scale steady while raising the capture rate. BIN 2×2 merges neighbouring pixels for sensitivity, and HCG mode engages at higher gain to reduce readout noise. For a beginner, those named buttons are the difference between learning and struggling.
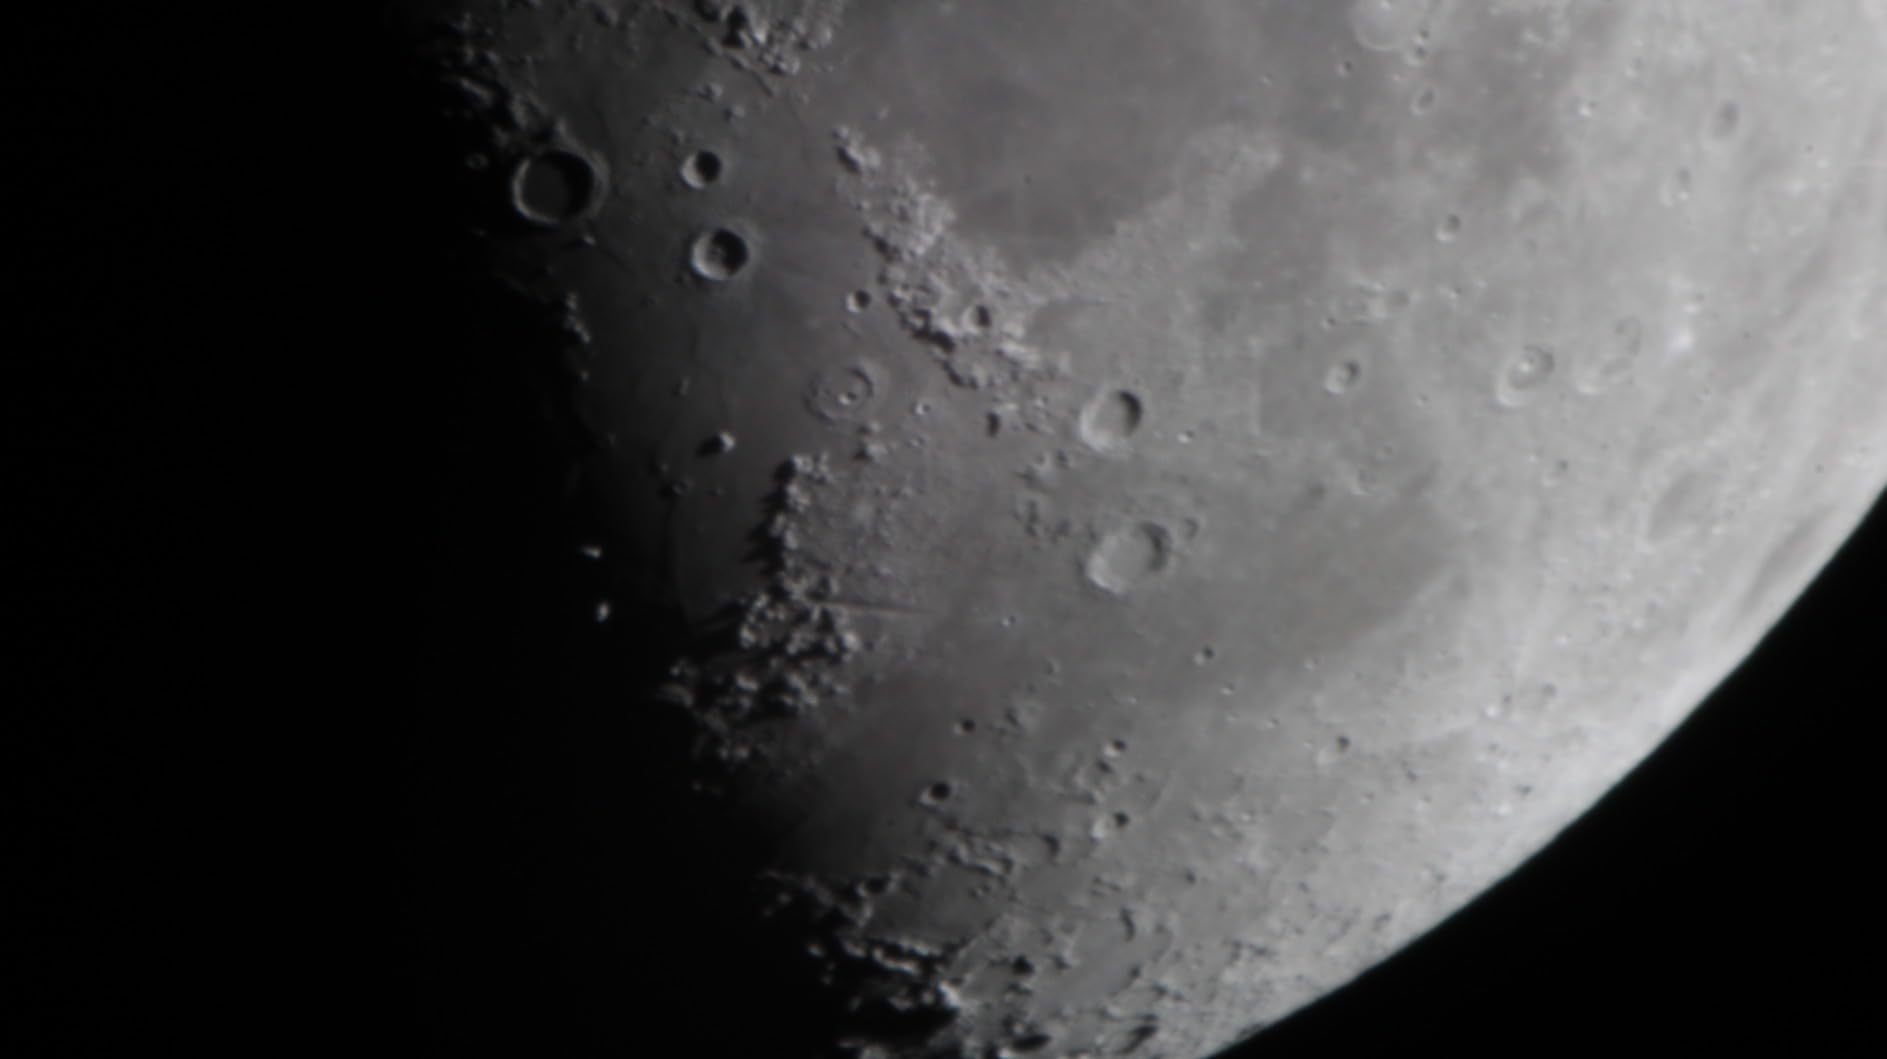
Two things cap it. The 2.1 megapixel resolution limits fine planetary detail, so it is better suited to the Moon, Saturn and wide targets. It also needs capture software and a USB 2.0-class port, and the built-in UV and IR cut filter is fixed even though the protective glass comes off.
Who the SV305C is for
It suits someone who has outgrown a basic eyepiece camera and wants sharper planetary frames with better colour, without moving to a cooled sensor they do not yet need. The saved one-key modes remove most of the guesswork from a first session.
The CS front thread also means it accepts C-mount and CS-mount lenses, which opens the door to cheap webcam lenses for wide-field experiments.
Who should look elsewhere
Skip it if your target list is deep sky. The 1/2.8-inch sensor is simply too small for long exposure faint-object work, whatever the software can do.
If you already shoot deep sky, a cooled one-shot-color camera with a bigger sensor will outclass this quickly, and the upgrade path is where the money goes.
10. SVBONY SV105 – The Cheapest Way to Start Real Astrophotography
SVBONY SV105 Telescope Camera, 1.25″ IMX307 CMOS Color Eyepiece Camera
1/2.8-inch IMX307 sensor
30 fps at 1080p
1.25-inch thread
Manual focus
Pros
- Cheapest way to start real astrophotography
- Plug and play with no driver
- Works with standard telescope filters
- 30 fps suits live planetary viewing
Cons
- Low resolution caps fine detail
- Capture software needed on every platform
- No iOS support
The SV105 is the cheapest route into genuine astrophotography rather than phone snapshots. It uses a 1/2.8-inch IMX307 color CMOS sensor in a standard 1.25-inch threaded barrel, reaching up to 30 fps at 1920 by 1080 with 2K high-speed recording available. There is no driver to install, so it runs straight after you plug in a USB cable.
Because it fits the standard eyepiece port, it drops into most telescopes and works with telescope filters and focal reducers. Owners consistently value the near-zero cost, the no-driver setup and workable frame rates for lunar and bright-planet work.
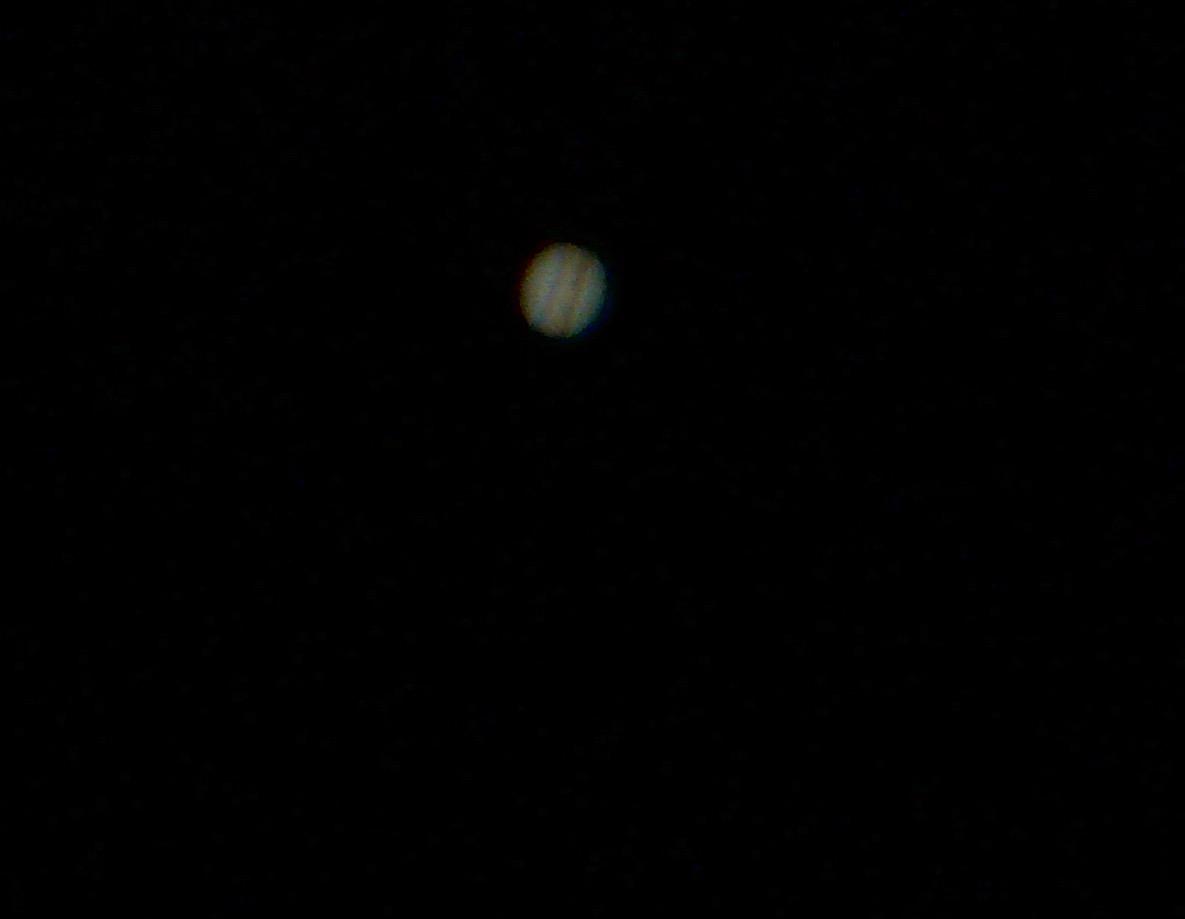
Dark light compensation in the image processor lifts low-light clarity, and the fixed-mount, manual-focus design keeps the controls simple. With the largest review base of the SVBONY group, the feedback is consistent enough to predict how you will get on with it.
The 1-star reviews concentrate on the same complaints: resolution that caps fine detail, capture software you must install on every platform, and occasional adapter friction. SharpCap runs on Windows, AstroDMx on Linux and USB Camera on Android, but there is no iOS support.
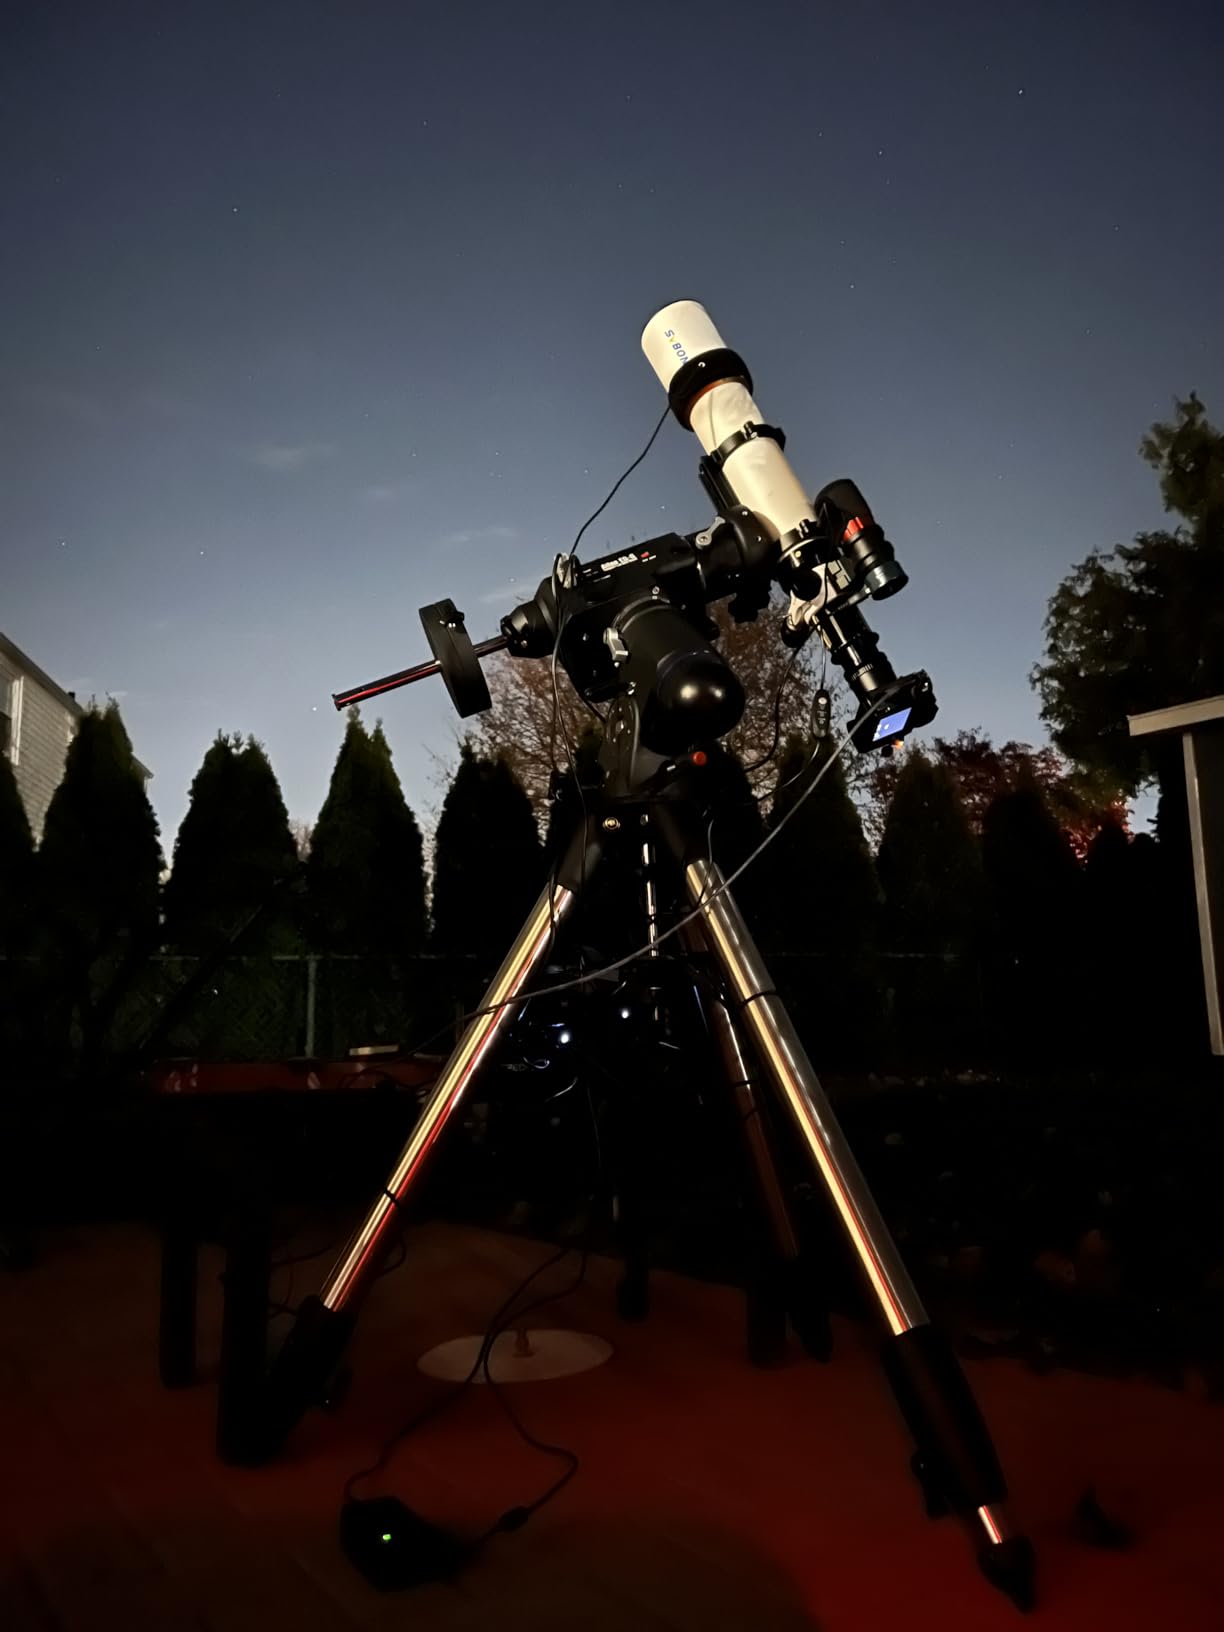
Who the SV105 suits
It suits a beginner who already has a telescope, wants to spend almost nothing, and would rather learn the whole workflow before investing. Recording the Moon for an evening teaches focusing, frame selection and stacking at a fraction of the entry cost.
It also works as an inexpensive guide-scope or all-sky camera alongside a setup you already own.
Who should skip it
Skip it if you want anything other than the Moon and bright planets. The resolution will not support deep sky, and the small sensor has very little headroom for faint targets.
Buy the telescope first. A camera that needs an adapter you have not identified yet turns a first evening into an evening spent reading specifications.
What to Look for in an Astrophotography Camera
A fast wide-aperture lens beats a body upgrade. Every time. A tracker plus a f/2 prime will produce better deep-sky data on a modest APS-C body than a far more expensive camera with the slow kit zoom it came with. If you can only spend on one extra item, make it the lens or the tracker rather than the camera.
DSLR vs mirrorless vs a dedicated astronomy camera
These are three different tools, not three versions of the same one. An interchangeable-lens camera on a tracker gives you wide nightscapes and larger targets. A dedicated astronomy camera bolts to a telescope for small, deep targets at long focal lengths. A planetary eyepiece camera records fast video of the Moon and planets.
DSLRs win on used value and cheap glass. Mirrorless wins on availability, electronic viewfinder brightness and modern lenses. Neither matters as much as pixel size, because the same sensor produces the same image in either body. Judge the sensor, not the housing.
Before buying a telescope to pair with any of these bodies, our roundup of the best telescopes for astrophotography covers the pairings that suit a beginner mount. Short-focal-length refractors on a tracking mount are the most forgiving starting point.
Sensor size, pixel size and why megapixels are a red herring
Sensor size determines how much sky you can frame and how much total light you can gather. Pixel size determines how efficiently that light is recorded. For night work, pixel size is the number to compare, and megapixel counts mostly measure daylight cropping ability.
Full frame gives wider fields and lower noise per pixel, which helps for Milky Way arches. APS-C gets you close to the same pixel density for far less money and gives you extra focal reach through a telescope. For most beginners, APS-C is the better value tradeoff.
Cooling, gain, read noise and dark frames in plain English
An uncooled camera generates heat in the sensor, and that heat shows up as dark current noise and hot pixels. You correct it by shooting dark frames: images taken with the lens cap on at the same temperature, exposure and ISO as your lights. You then subtract them in stacking.
A cooled astronomy camera uses a thermoelectric cooler to hold the sensor at a fixed low temperature, often well below ambient. Dark current drops sharply, hot pixels stabilise, and many people can skip dark frames entirely. That is the real argument for cooling: not a prettier picture, but less time shooting useless calibration frames all night.
Gain is a separate control on astronomy cameras. Higher gain shortens the readout and lowers read noise but risks saturating the image, so it only pays off on short planetary exposures where each frame is milliseconds long.
The 500 rule and the NPF rule
The 500 rule gives your longest exposure before stars visibly trail. Divide the full-frame equivalent focal length by the aperture number. With a 24mm lens on an APS-C body, that is 24 times 1.6, which is 38mm equivalent, and 38 divided by f/1.8 gives roughly 21 seconds.
The NPF rule is more honest because it accounts for pixel pitch. Multiply the aperture number by your pixel size, add one pixel, then divide by crop factor. With 3.9 micron pixels on a crop body at f/1.8, that yields about 10 seconds, which is why many nightscape shooters stay under 15 seconds.
Either way, once a tracker is tracking, both limits become irrelevant and you can shoot as long as your mount holds. That is the moment the camera stops being the limiting factor.
How your camera connects to a telescope
You need a T-ring or adapter matching your camera mount, and enough backspacing clearance to reach focus. Bodies with a thin or flip screen can hit the focuser at full extension, which is a real problem with larger adapters.
A focal reducer widens the field and speeds up the focal ratio, which suits small sensors. A field flattener corrects curvature at the edges of a fast field. Both are accessories worth adding later, not first-night purchases.
What a realistic beginner budget looks like
The camera is usually the cheapest part of a working rig. Three honest tiers cover most people. The first is a phone or a used body plus a small tracker, which gets you star trails and a first Milky Way frame with almost no commitment.
The second is an entry APS-C body, a fast wide prime and a basic star tracker. This is the tier most of the cameras in this guide sit in, and it produces your first stacked nebula.
The third pairs a mid-range body or a cooled astronomy camera with a tracking mount and a small refractor, which is where galaxies and planetary detail live. Before committing to that last step, read our beginner telescope guide, because the mount matters as much as the optics.
One last warning from the forums: avoid buying a bundled telescope and mount set as a first purchase. A wobbly mount that cannot hold tracking for two minutes wastes the camera budget you spent years saving for.
Frequently Asked Questions
What is the 500 rule in astrophotography?
Divide your full-frame equivalent focal length by the aperture number to get the longest exposure in seconds before stars trail. A 24mm lens on an APS-C body at f/1.8 works out to about 21 seconds. On a tracker the rule stops applying because the mount cancels the Earth’s rotation.
Which is better for astrophotography, DSLR or mirrorless?
Both work, and the same sensor produces the same image in either body. DSLRs usually win on used value and cheap second-hand lenses. Mirrorless wins on new-body availability, brighter electronic viewfinders for manual star focusing and modern lens design. For night work, compare pixel size rather than the mount system.
What is the best cheap camera for astrophotography?
Under the cheapest tier, the answer is an entry APS-C DSLR or mirrorless body paired with a fast wide prime. Keep in mind that money is often better spent on a star tracker than on a more expensive camera, since the tracker is what turns single frames into stacked deep-sky images.
Do I need to modify my camera for astrophotography?
No. An unmodified body is fine for visible light and most beginners never modify anything. Modification mainly matters for narrowband filters on some sensors, where a filter does not reach every colour channel evenly. If you shoot stars, planets, nebulae and Milky Way arches only, leave the camera alone.
Is astrophotography an expensive hobby?
It can start very cheaply and it can also run away quickly. The lowest tier is a phone or a used body with a small tracker. A realistic first stacked image needs a body, a fast lens and a star tracker, and the camera is normally the cheapest of those three. The biggest cost is the mount when you move to small deep-sky targets.
What is a good astrophotography camera to start with?
An APS-C body with manual exposure, RAW capture and a usable high-ISO range is the safe choice. If you already own a DSLR that shoots RAW, start there and spend the money on a fast wide prime and a star tracker instead of a new body.
Where to Start With Your First Night Sky Setup
Our short version for the best astrophotography cameras for beginners in 2026: start with the body you already own, add a fast wide prime and a star tracker, and treat the camera upgrade as a second-year purchase. That order gets you a real stacked image sooner than buying the most expensive body first.
If you are starting from nothing, an entry APS-C body is enough for years. Move up only when you know whether your targets are wide nightscapes, small deep-sky objects, or planets, because each of those pushes you toward a different kind of camera.
When you are ready for the telescope side, our guide to the best telescopes for astrophotography covers the pairings that suit a beginner mount. Clear skies, and keep looking up.