
The best computerized telescope for beginners is the Celestron NexStar 127SLT, a fully motorized alt-azimuth mount that finds and tracks targets from a 40000+ object database in minutes. If you want the same guided experience without motors, the Celestron StarSense Explorer LT 114AZ is the value pick, and the DWARFLAB Dwarf Mini is the small smart scope for travel.
That is the short version. The longer version matters more, because computerized telescopes are the first real departure from the traditional beginner advice of buying the biggest aperture you can carry. Motorized scopes and phone-guided scopes trade a little aperture for the ability to point at something you have never found before.
Our team has spent time with all six scopes in this guide across suburban backyards, and the honest summary is that the automation solves one specific beginner problem extremely well. It solves finding. It does not solve aperture, and no motor in any of these telescopes will make a 4 inch tube show you a faint galaxy.
For the wider category, including scopes that are not computerized at all, we have a separate guide on the best telescopes for beginners and a deeper dive in our coverage of computerized telescopes tested.
A computerized telescope is a telescope whose mount has motors and a small onboard computer. You give it your location, the date and the time, aim it at two or three bright stars, and from then on it can slew to any object in its catalogue and follow it while you look.
That last part, the following, is what separates these scopes from an ordinary beginner telescope. Without tracking, the Earth turns under your observation and the target drifts out of the eyepiece within a minute or two. With tracking, you can look at Jupiter for ten minutes, swap eyepieces, change your mind about magnification, and still have the planet centred.
Table of Contents
Top 3 Picks for Computerized Telescopes for Beginners in 2026

Celestron NexStar 127SLT
- Fully motorized GoTo and tracking
- 40000+ object database
- SkyAlign setup in minutes

Celestron StarSense LT 114AZ
- Phone-guided pointing
- 114mm reflector
- Two eyepieces plus a 2x Barlow

Those three cover the three genuinely different experiences. The NexStar 127SLT is the scope you look through. The StarSense LT 114AZ is the scope your phone points. The Dwarf Mini is the scope that photographs for you while you sit down.
Best Computerized Telescopes for Beginners (October 2026)
| Product | Specifications | Action |
|---|---|---|
| Celestron NexStar 127SLT |
|
Check Latest Price |
| Celestron StarSense LT 114AZ |
|
Check Latest Price |
 Celestron StarSense DX 130AZ Celestron StarSense DX 130AZ |
|
Check Latest Price |
| DWARFLAB Dwarf Mini |
|
Check Latest Price |
 ZWO Seestar S30 Pro ZWO Seestar S30 Pro |
|
Check Latest Price |
 DWARFLAB Dwarf 3 DWARFLAB Dwarf 3 |
|
Check Latest Price |
Read that table as two different categories wearing the same clothes. The Celestron models are eyepiece instruments with guided pointing. The DWARFLAB and ZWO models are imaging devices that put finished pictures on your phone and never involve an eyepiece at all.
1. Celestron NexStar 127SLT – Best Overall Computerized Telescope for Beginners
Celestron NexStar 127SLT Maksutov-Cassegrain Computerized GoTo Telescope
127mm Maksutov-Cassegrain
1500mm focal length
18.1 pounds
Motorized alt-az GoTo mount
Pros
- Motorized GoTo finds and tracks targets hands-free
- 40000+ object database
- Compact single fork arm for a motorized scope
- Sharp contrast on Saturn and Jupiter
- Starry Night software included
Cons
- Heaviest option here at 18.1 pounds
- Two included eyepieces are a modest set
- Limited tracking time on battery alone
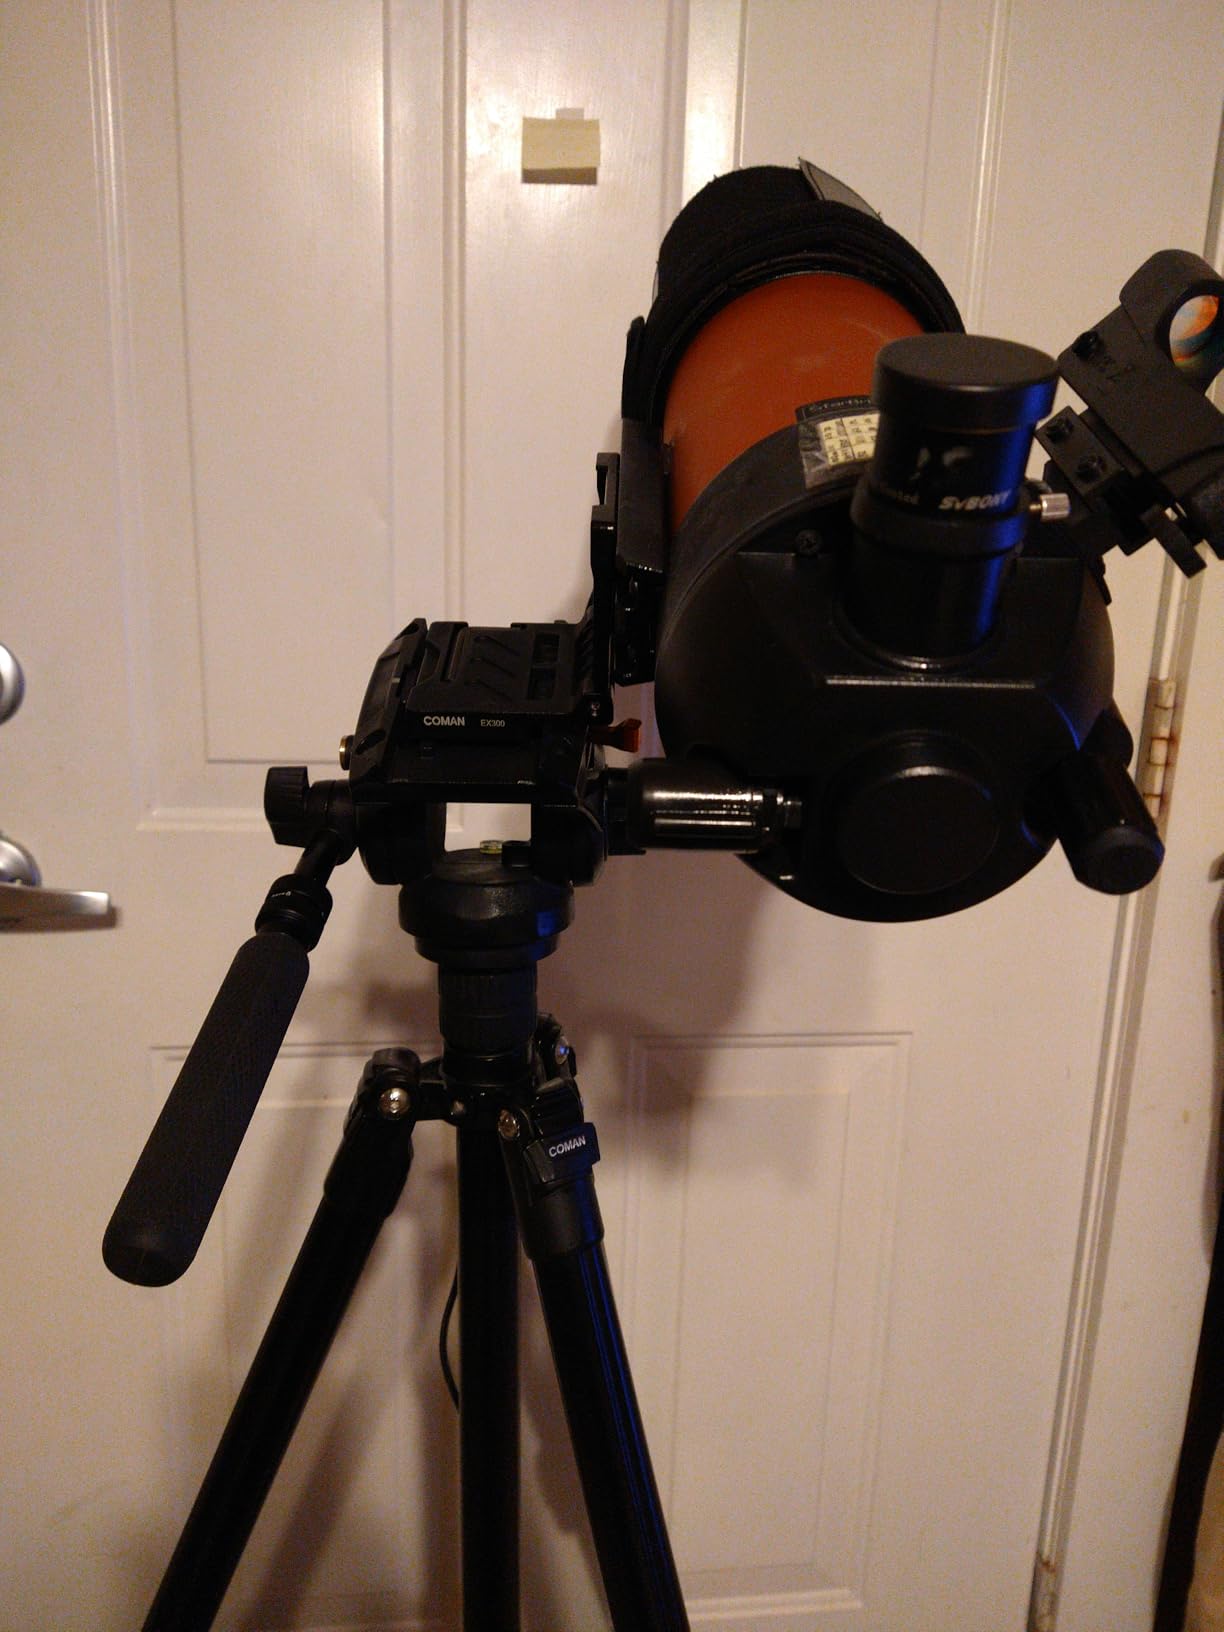
This is the scope we hand to a friend who tells us they want a telescope that does something on its own. The NexStar 127SLT has a single fork-arm alt-azimuth mount with motors in both axes and a NexStar+ hand control loaded with more than 40000 objects. Once it is aligned, finding is a question of scrolling and pressing enter.
Alignment is the part new owners worry about most, and SkyAlign is why this scope stays on our list. Instead of hunting for two specific named stars, you point the tube at any three bright objects in sequence. The hand control works out where you are pointing and builds the sky map from that. In practice a first-timer is observing inside ten minutes of unpacking.

Optically it is a 127mm Maksutov-Cassegrain with a 1500mm focal length, which is a long glass tube and a slow beam that rewards shorter focal lengths. Reviewers consistently describe sharp, high-contrast views of Saturn’s rings, Jupiter’s cloud bands and craters along the lunar terminator. That long focus also means you can use a 9mm eyepiece without the image turning to mush, which is not true of every 5 inch scope here.
The database is the quiet hero. The included catalogue runs past 40000 objects, so you can request the Andromeda Galaxy by name and have the motors take you there while you watch, or press the sky tour button and let it walk through whatever is well placed tonight. Starry Night Special Edition comes in the box for planning sessions indoors.
The honest weakness is weight. At 18.1 pounds with a 34 by 30 by 50 inch listed footprint, this is not a scope you carry up a hill in one hand. It is also the only motorized GoTo in the group running on a lithium battery rather than mains power, which means long sessions want a portable power source close by.
Who the NexStar 127SLT suits
It suits someone who wants to look through an eyepiece and have a satisfying session without learning the sky first. If your goal is Saturn on a Saturday evening without an hour of star hopping, this is the instrument that delivers that reliably.
It also suits parents buying for a teenager, because the hand control does the pointing and the tracking holds the target while a young observer learns what they are looking at. Long-term owners on r/telescopes describe keeping one of this class of motorized scope for years, which is the kind of endorsement that matters most in a hobby you buy once.
Where the NexStar 127SLT disappoints
Two eyepieces, a 20mm and a 9mm, is a thin starter set for a scope at this level. Forum threads about budget GoTo mounts in this category almost always include a line about budgeting for better eyepieces later, and budget for it.
At high magnification the fork arm transmits vibration, so planetary work at 200x and above needs a moment to settle after each adjustment. Dew is the other long-term nuisance. Corrected corrector plates on Maksutov designs attract moisture overnight, and a cheap dew shield or a small band heater is the difference between a clear night and a blurred one.
2. Celestron StarSense Explorer LT 114AZ – Best Value for Guided Pointing
Celestron StarSense Explorer LT 114AZ Newtonian Smartphone Guided Telescope
114mm Newtonian reflector
1000mm focal length
10.4 pounds
Smartphone-guided alt-az mount
Pros
- Phone app turns a phone into a sky-navigation system
- Preassembled mount sets up fast
- Two eyepieces plus a 2x Barlow included
- Good light gathering on Moon and planets
- Two-year warranty with US support
Cons
- Manual mount means no motorised tracking
- Entry-level light gathering for deep sky
- Needs a compatible phone and app activation
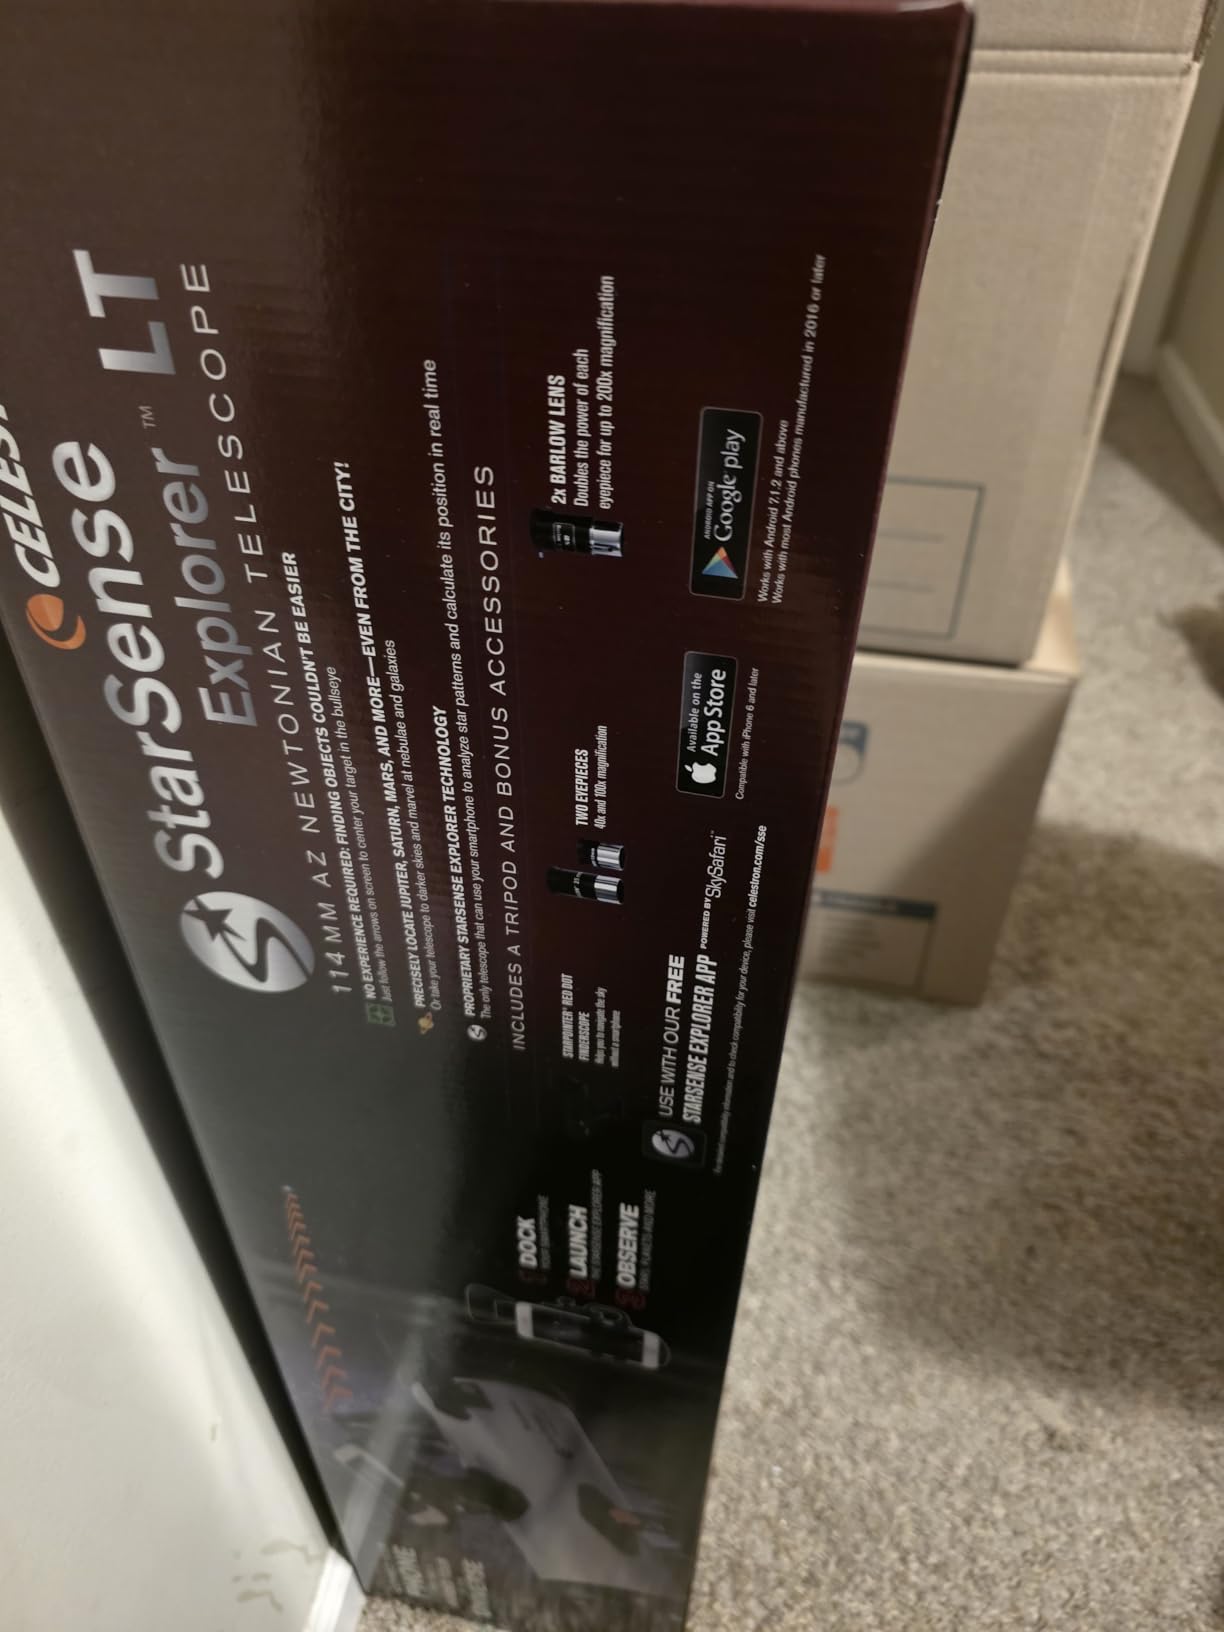
This scope does something clever. It skips motors entirely and puts the pointing work into your phone. The StarSense app uses the camera to recognise the pattern of stars above you, works out where the telescope is pointing, and then draws arrows on the screen telling you which way to move the tube.
That is the whole trick, and it is why this is the strongest value in the guide. You get guided pointing without a battery pack, a motor in each axis, or a hand control to lose in the grass. The mount and tripod arrive preassembled, which is why the setup is genuinely fast for a first telescope.
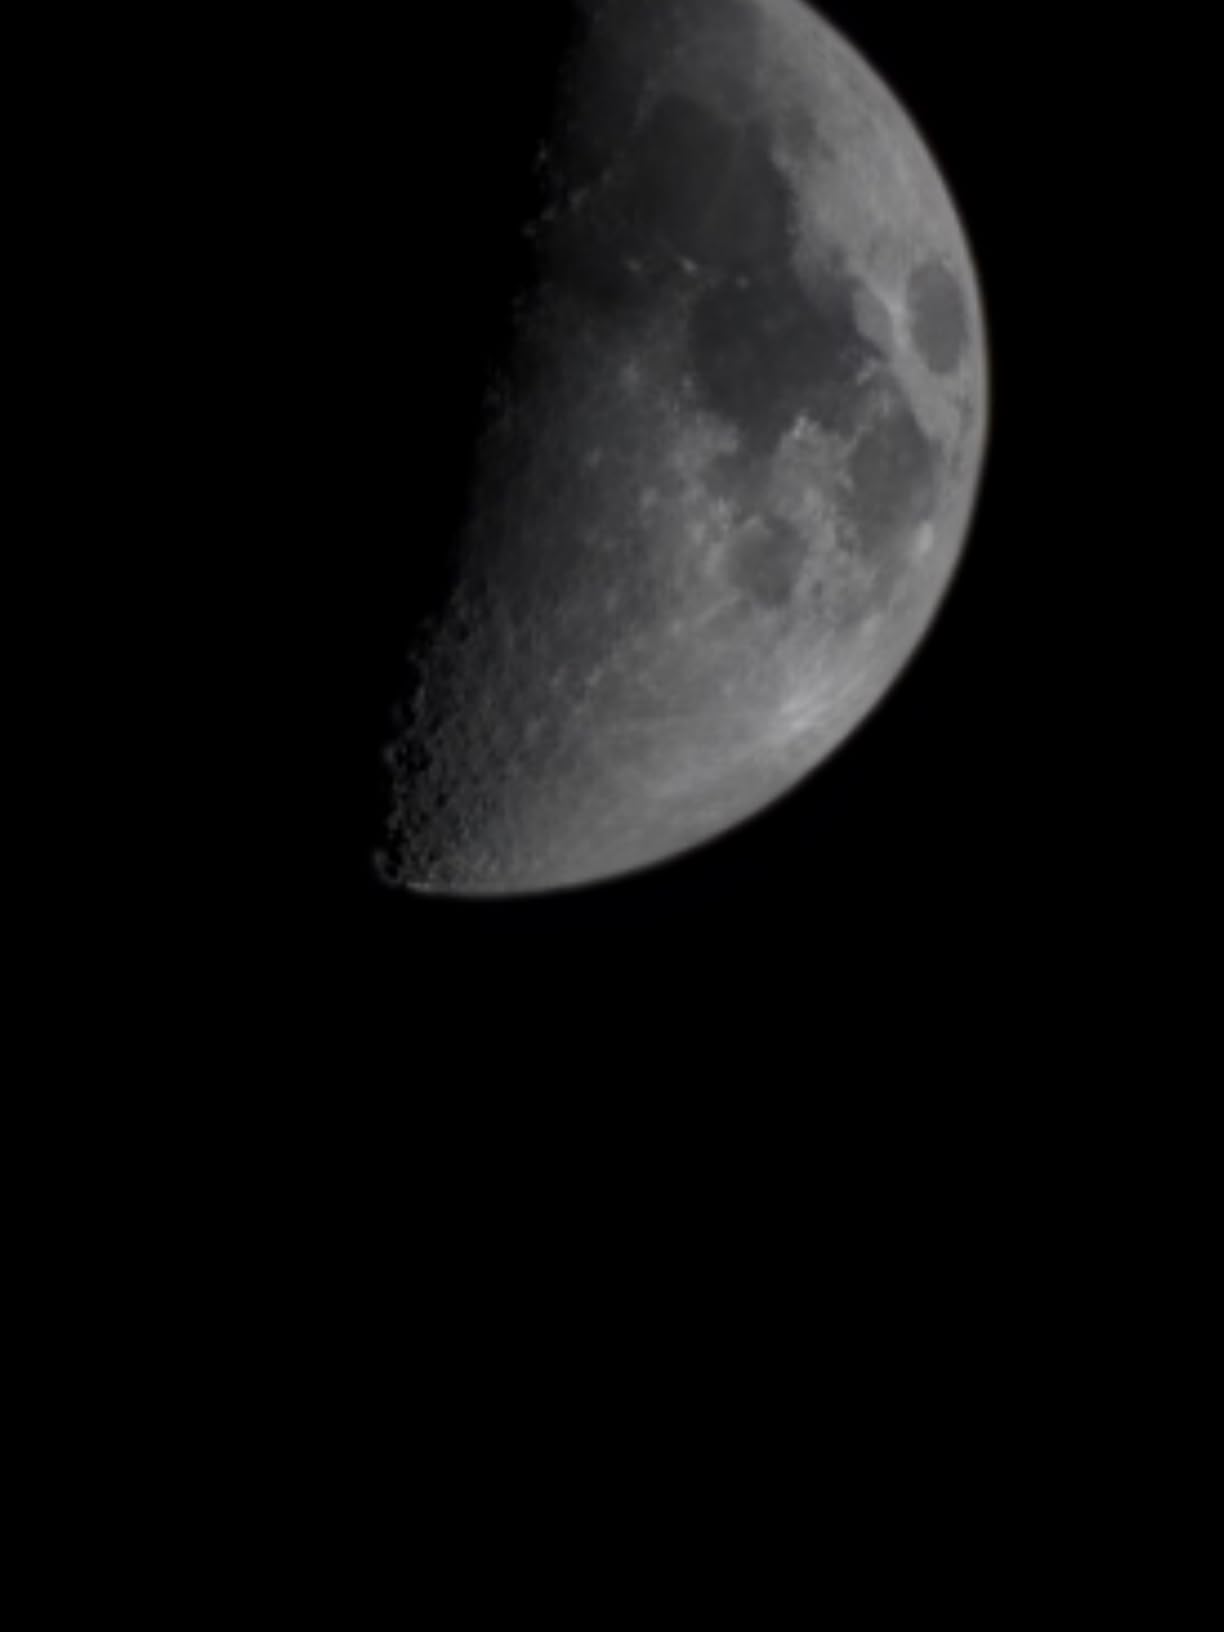
Optically you have a 114mm Newtonian reflector on a 1000mm focal length, which lands around f/8.8, a 1.02 arc second Dawes limit, and a 2.04 degree field of view. Owners report the Moon in fine detail, the planets, and targets like the Orion Nebula and Andromeda when the sky is dark enough.
The review base is the largest in this guide at 1571 reviews with 62 percent at five stars, and the pattern in those reviews is consistent. People who have never used a telescope say the app got them onto targets on their first night, which is exactly the job we want this scope to do.
There is a 25mm and a 10mm eyepiece in the box plus a 2x Barlow, so you have three magnifications from day one. That included accessory bundle is unusually good and removes the most common complaint about entry-level telescopes, which is that the eyepieces are an afterthought.
Why the app-guided route works for beginners
Automation does not have to mean motors. The StarSense route solves the exact same beginner problem, finding, with software and a phone instead of a motorised mount and a catalogue. Several experienced observers on r/telescopes argue the app pointing holds up against motorised GoTo mounts for visual use.
It also sidesteps one of the most common frustrations with computerised scopes. There is no alignment sequence to get wrong, because the app recalibrates every time you open it. For a nervous first-timer, that removes the single thing people report worrying about most.
What you give up without motors
You give up tracking, which is real. When you find Saturn you must keep nudging the tube with the altitude slow motion control on the sliding rod, and high magnification makes that a constant small job. Deep sky is where it bites hardest, because those targets are faint and you want a stable image of them.
A second limitation is light pollution combined with aperture. At 114mm this scope gathers enough for the Moon, bright planets and the nearest clusters, but faint galaxies are a stretch from a bright backyard. Users on cloudynights and r/telescopes are blunt that aperture, not automation, is the limiting factor on faint targets.
3. Celestron StarSense Explorer DX 130AZ – Most Light-Gathering per Pound of Glass
Celestron StarSense Explorer DX 130AZ Smartphone Guided Newtonian Telescope
130mm Newtonian reflector
650mm focal length
18 pounds
Manual alt-az with slow motion
Pros
- Largest aperture among the guided scopes
- App pointing praised by experienced observers
- Dual-axis slow motion for centring targets
- Setup under 30 minutes
- Shows lunar craters and planets well
Cons
- Light tripod and mount shake in wind
- Plastic phone cradle adds vibration
- Tube clearance limits high altitude targets
If aperture is the deciding factor, this is the scope in the guide that delivers the most of it. A 130mm reflector is a 5 inch tube with a 0.89 arc second Dawes limit and a 2 degree field of view, and that is a meaningful jump in light gathering over the 114mm model above.
The trade is focal length. At 650mm instead of 1000mm, the same eyepiece gives you a wider field and lower magnification, which suits sweeping the Moon and framing star clusters. It also means you lean on the included 25mm and 10mm pair, or add a Barlow, for planetary detail.
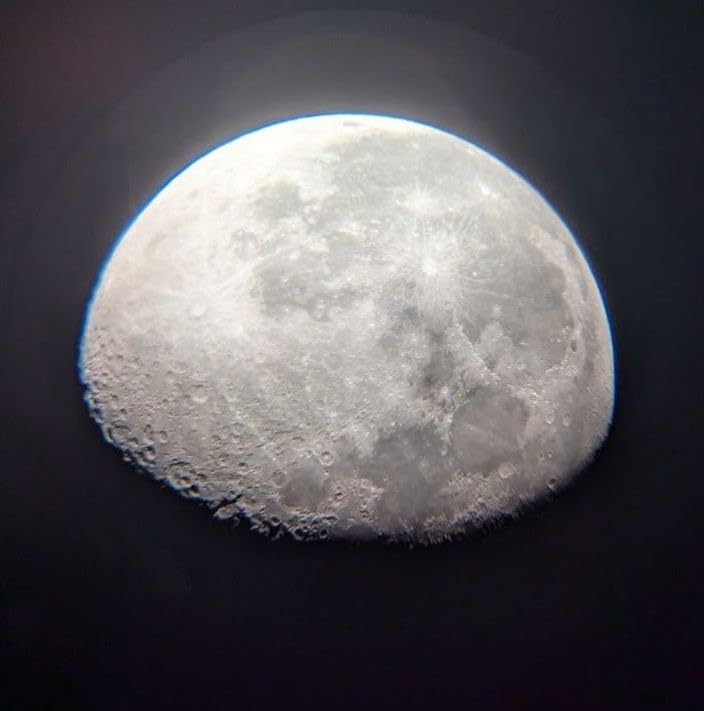
Pointing works the same way as the LT 114AZ. The StarSense app reads the star field and gives you arrow guidance, and once you are on target the dual-axis slow-motion controls make it easy to centre and hold an object. That control pair is a genuine improvement over the single sliding-rod arrangement on the smaller model.
The 13 percent one-star share in the ratings is worth understanding rather than ignoring. Most of those reviews are about mount rigidity and about units arriving with damage or a failed finder, not about the optics. The optics, when aligned, are what the experienced reviews praise.
Newtonian reflectors need their mirrors collimated, which is the maintenance task beginners are least warned about. A cheap collimation cap or a smartphone alignment app makes it a two-minute job, and doing it before you observe rather than mid-session is the difference between a clean view and a frustrating one.

Who should buy the DX 130AZ
Buy it if your site is a suburban or city backyard and you want the Moon, Jupiter, Saturn and the brighter deep sky objects without hunting for dark sky. A 5 inch aperture plus a smartphone is the combination experienced users on forum.astronomy.com repeatedly name as the sensible first serious telescope.
It also suits anyone who wants to grow into astrophotography later without changing instruments. The wide field at 650mm suits star fields, and with a phone or a separate camera you can start stacking frames on moonlit targets.
Where the DX 130AZ falls short
The tripod and mount are light for the glass they carry. Owners describe bumps, wind and passing vehicles producing visible shake, and the plastic phone cradle neck adds vibration of its own when it is used at the eyepiece. Steady high-power planetary work is not this scope’s strength.
There is a physical limit too. Reviewers note that tube clearance against the tripod legs restricts easy observing to roughly 65 to 70 degrees altitude, so targets near the zenith are awkward to reach. Check the accessory tray instructions before you assemble it, because the screws pass through the tripod cross braces and the diagrams do not always make that obvious.
4. DWARFLAB Dwarf Mini – Best Smart Telescope for Travel
DWARFLAB Dwarf Mini Smart Telescope – 1.85lb Portable Astronomy Telescope
30mm aperture with Sony IMX662 sensor
150mm focal length
1.9 pounds
App GoTo with equatorial mode
Pros
- Fits in a backpack at under 2 pounds
- Plate-solving finds and tracks targets automatically
- Up to 90-second exposures in EQ mode
- Built-in light pollution and solar filters
- On-device stacking and cloud processing
Cons
- Planetary viewing is weak
- Low sensor resolution limits print size
- Needs a tripod and power bank for EQ work
The Dwarf Mini is the smallest thing in this guide at 1.9 pounds and about 7 inches tall, and it changes what a first observing trip can look like. A full GoTo mount plus tripod in a carry-on defeats the purpose of going to a dark sky site. This fits in a backpack beside a thermos.
Operation is app based and there is no eyepiece. You pick a target on the sky map, the mount plate-solves to find out where it is actually pointing, slews, tracks, and stacks frames on the sensor. The finished image lands on your phone after processing in the cloud through Stellar Studio.

Optically it is a 30mm aperture with a 150mm focal length, which is a 2.45 degree field. That is wide, which suits nebulae, clusters and the Milky Way rather than planets. The sensor is a Sony IMX662 at 1/2.8 inch with 2.9 micron pixels, and it runs single-frame exposures up to 90 seconds in equatorial mode.
That EQ mode is the headline feature. A 360 degree pivot plus equatorial stacking plus built-in light pollution filters is what lets owners produce usable deep sky images from heavily lit skies, which is exactly the situation most beginners are in.
The box contains the telescope, a filter, a USB-C cable and a cleaning cloth. There is no tripod, so for EQ mode work you want to add a small tripod with a fluid head and a power bank, which owners mention repeatedly in reviews.

Who the Dwarf Mini suits
It suits a beginner who wants photographs rather than views, and who lives somewhere with too much sky glow. The built-in light pollution filters and 90-second exposures are aimed squarely at that problem, and dark-frame capture and stacking across multiple sessions are supported.
It also suits experienced imagers as a second instrument for wide fields, since it is small enough to carry and dedicated to one job. The 75 percent five-star share suggests that framing as a compact astrophotography starter is well received.
Where the Dwarf Mini falls short
Planets are the failure point. Reviewers are direct that planetary viewing is weak and planets show as featureless discs, because a 30mm aperture and a 2.45 degree field are not built for that. If Saturn’s rings are the goal, this is the wrong instrument.
Sensor resolution is the other limit. Images are sized for sharing on a screen rather than printing large, and small targets stay small in frame. There is also a recurring note about initial Wi-Fi connection being finicky and about some units arriving with dust particles inside the lens that cannot be cleaned.
5. ZWO Seestar S30 Pro – Best for One-Tap Deep Sky Imaging
ZWO Seestar S30 Pro Smart Telescope, App-Controlled Astrophotography
30mm aperture apochromatic optics
160mm focal length
3.6 pounds
Alt-az mount with equatorial mode
Pros
- One-tap modes for the Milky Way
- nebulae and galaxies
- Dual-camera 4K imaging adds real detail
- Built-in light pollution filters for urban skies
- Apochromatic optics with full multi-coating
- Anti-dew protection and long-session support
Cons
- Not intended for planetary observation
- Device must stay still during imaging
- Detailed settings need the manual
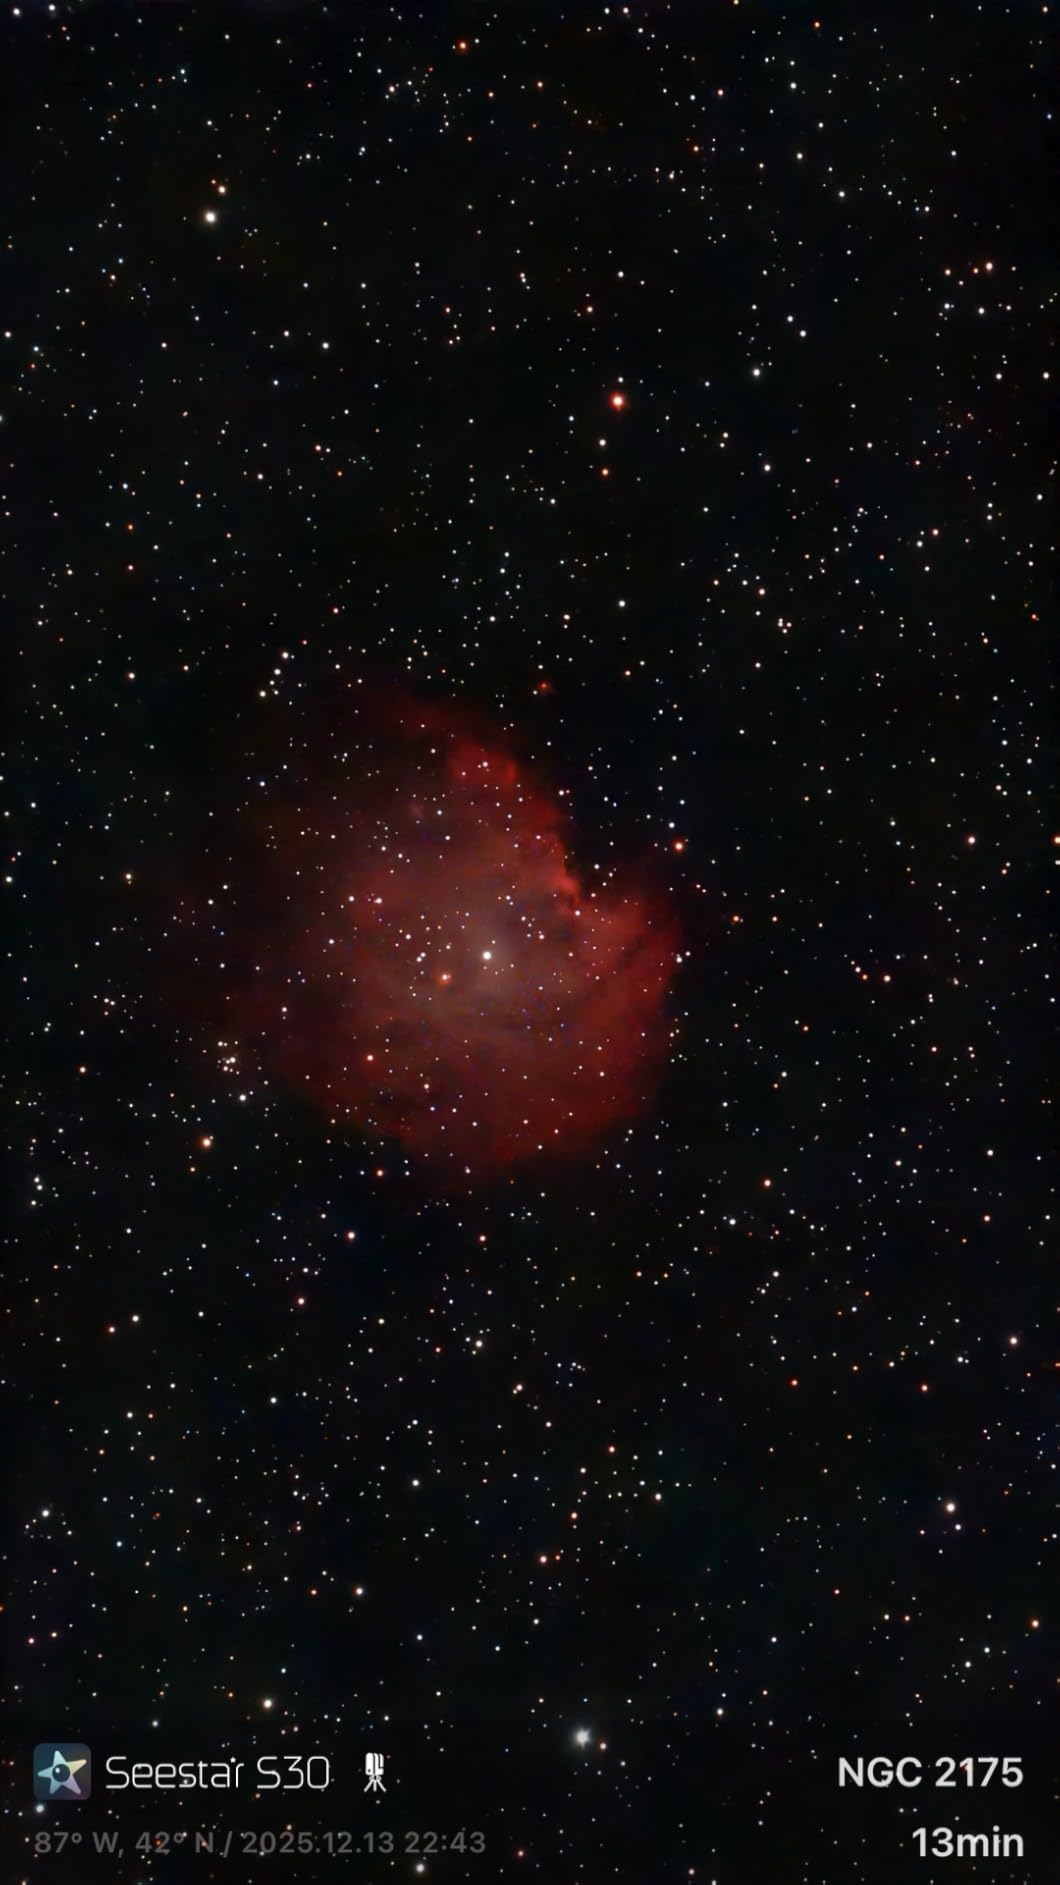
The S30 Pro is the most automated scope here and the least demanding. You power it on, connect the app, choose a target or pick one of the one-tap presets, and it handles pointing, tracking, stacking and finishing the image. There is no alignment procedure to learn because there is nothing to align.
Its 4.6 degree field comes from a 30mm aperture with a 160mm focal length in fully multi-coated apochromatic optics. Compared with a single-camera smart scope, the dual-camera 4K setup is what reviewers point to when they describe it as noticeably sharper on small targets.
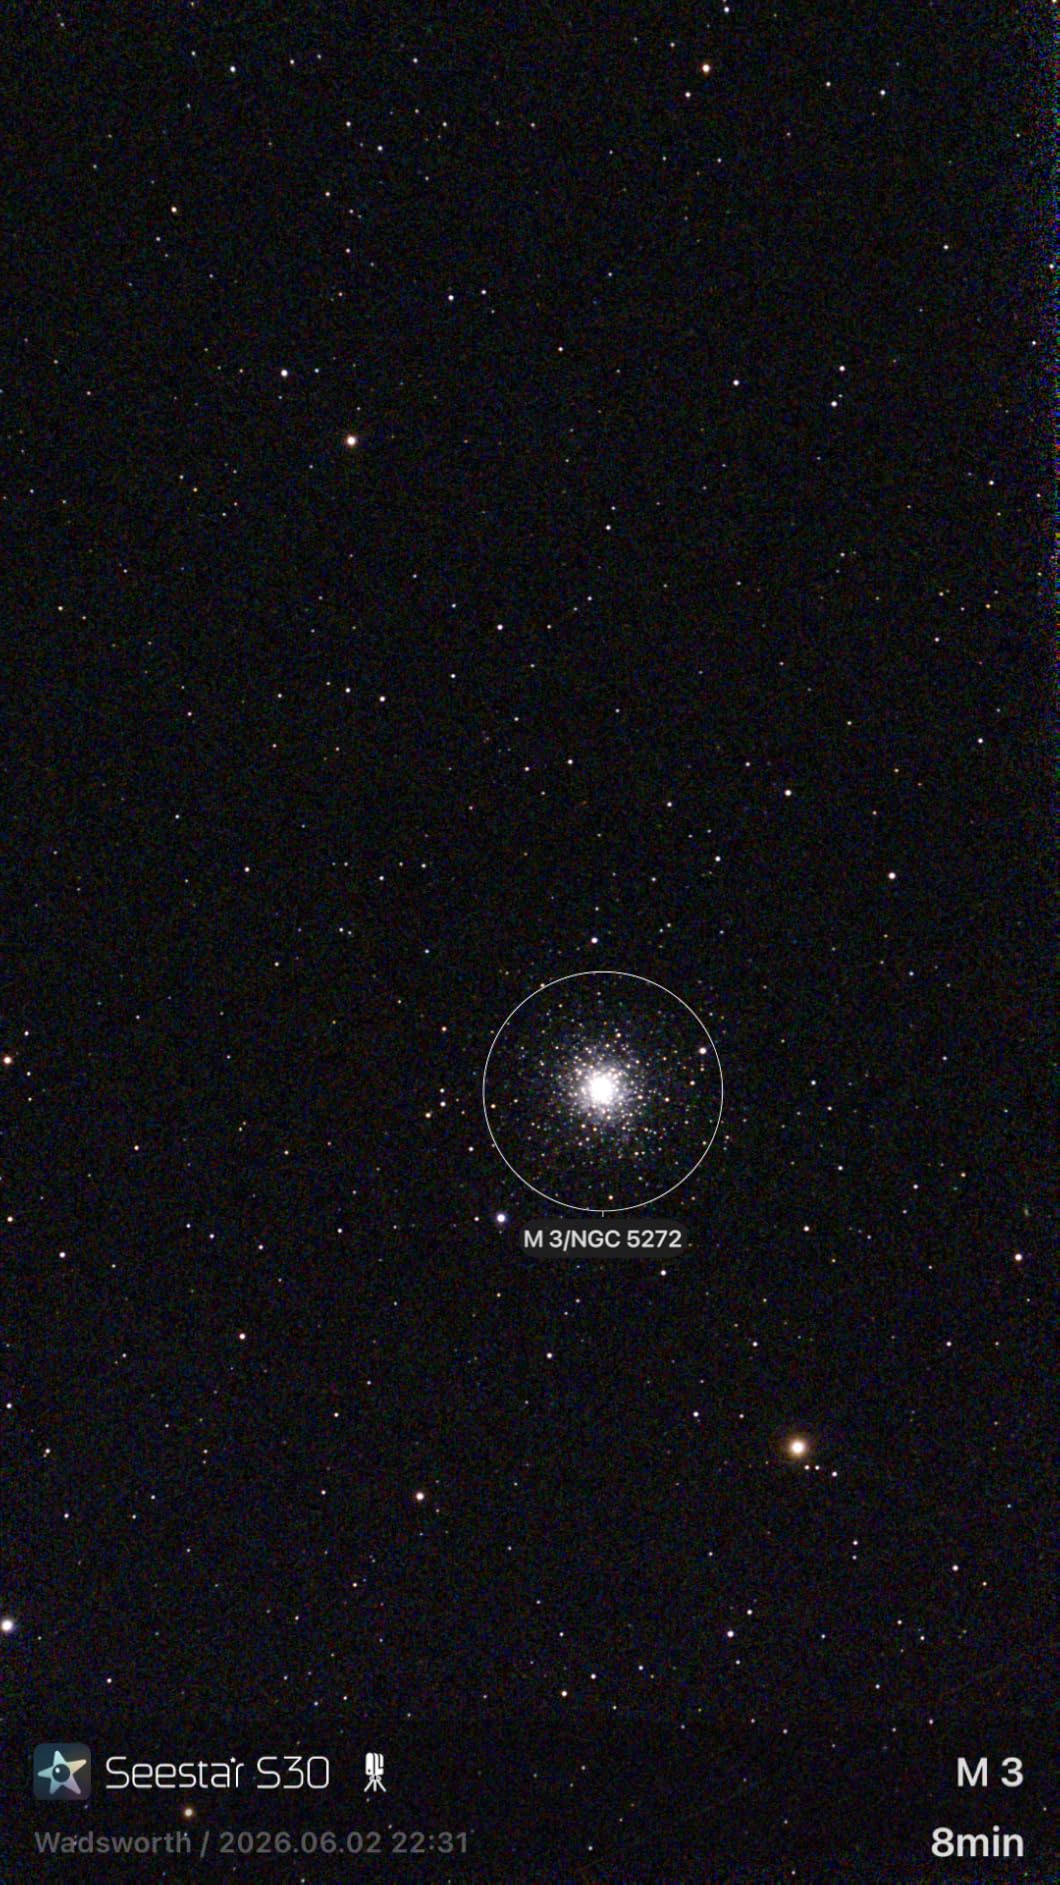
The one-tap modes are the real product. There are presets for the Milky Way, star trails, nebulae, galaxies, the Moon and the Sun, with automatic mosaic stitching when a target is wider than the sensor. A one-tap Milky Way mode in particular gets people imaging in under five minutes with no software knowledge at all.
Built-in light pollution filters and an alt-az mount that supports equatorial mode make it workable from a bright suburban driveway, which is where most beginners actually observe. At 3.6 pounds with anti-dew protection, it also handles a full night outdoors without becoming a carrying problem.
This is the newest and least-reviewed item in the guide at 232 reviews, and the rating split is unusually clean with 76 percent at five stars. A smaller review base means less long-term history, which is worth factoring into a purchase you may keep for years.
Who the Seestar S30 Pro suits
It suits beginners who want to photograph the sky and would rather not learn the craft of it first. If the idea of stacking sub-frames, calibrating darks and blending gradients sounds like work rather than the point, this removes all of it.
It also suits families and anyone who wants to share an observing session remotely. Live view on a phone screen makes it easy to show a child or a distant relative what the scope is pointed at without passing a single eyepiece around.
Where the Seestar S30 Pro falls short
It is an imaging scope, not an observing one. The clearest stated limit in the reviews is that it was built for deep sky targets, not planets, and there is no eyepiece to look through if you want a live planetary view.
Deep sky imaging still has one hard requirement: the device has to stay still. Bumps matter more than they would on a driven mount. And while the automatic modes are strong, the manual control depth is shallower than a dedicated astrophotography rig, so people who quickly outgrow one tap will need to learn more elsewhere.
6. DWARFLAB Dwarf 3 – Best Dual-Lens Smart Telescope
DWARFLAB Dwarf 3 Smart Telescope, App-Controlled Astrophotography Camera
35mm aperture dual imaging system
Telephoto and wide-angle lenses
2.28 kg
App GoTo with 4K tracking
Pros
- Dual lens covers deep space and Milky Way scenes
- About 3 pounds for a standard backpack
- 4K auto tracking for sharp results
- Cloud processing needs no computer
- Carrying bag and magnetic filters included
Cons
- Daylight telephoto function adds no astronomy capability
- Entry-level 35mm aperture limits faint detail
- Alt-az mount with EQ mode rather than true equatorial
The Dwarf 3 solves a specific complaint that first-time smart telescope owners raise quickly. A single narrow field is great for a galaxy and useless for the Milky Way arching over a ridge. This one has two lenses, a telephoto for deep space and a wide angle for the Milky Way and star trails, in the same body.
It is a slightly bigger instrument than the Dwarf Mini at 2.28 kg with a 35mm aperture, and it ships with a carrying bag. The app handles GoTo, 4K auto tracking and equatorial mode, then finishes the image through cloud processing without a computer in the loop.
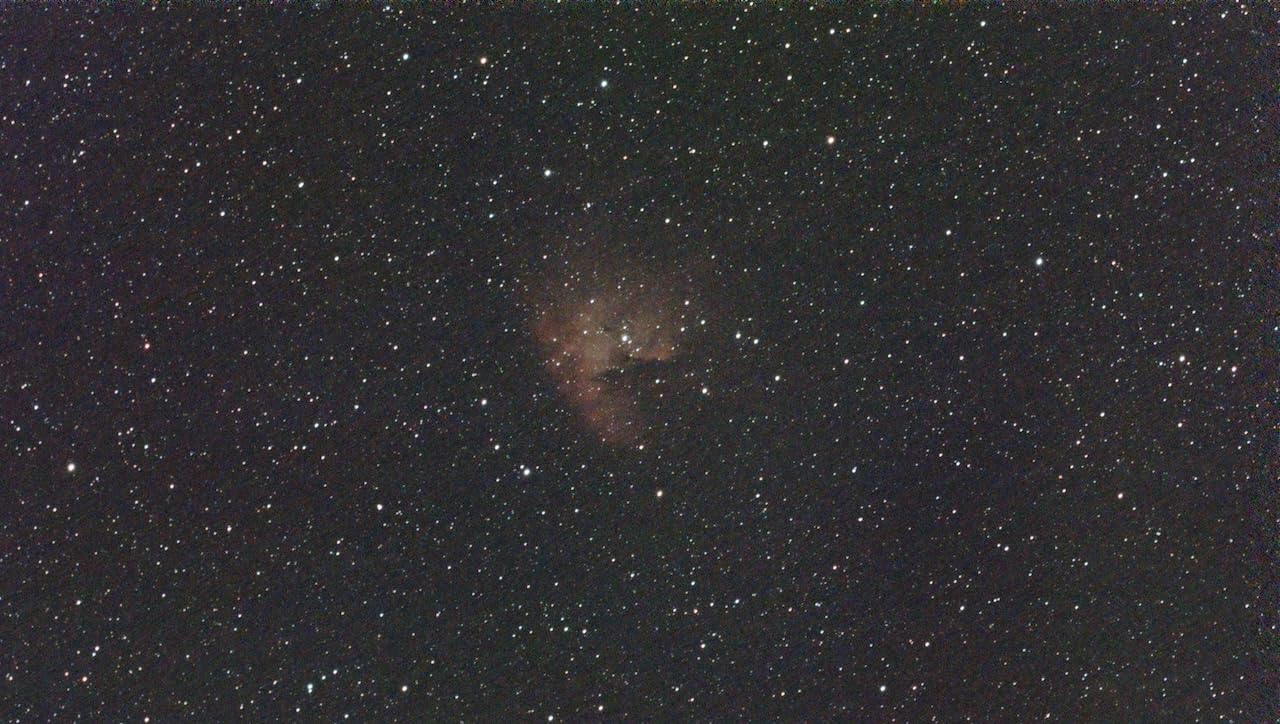
The pitch for beginners is the two-minute learning claim, and the rating distribution backs the approachable side of it with 76 percent at five stars and only 1 percent at three. Focus is automatic, which removes the fiddliest part of imaging on a small scope.
Being fair about the negatives, the one-star share at 10 percent is the highest in this guide and appears tied to early-user friction and output quality expectations rather than to the concept. A few buyers wanted more from a 35mm aperture on faint targets, and that is a fair limit to know about before you buy.
The daylight telephoto function also does not help with astronomy. It points at wildlife and ordinary scenery in daylight, which is a genuinely useful feature, but it does not add planetary capability to the astronomy side at all.
Who the Dwarf 3 suits
It suits a beginner who wants one device to cover both classic deep sky targets and wide night scenes, and who will actually take it outside rather than leaving it on a shelf. The included carrying bag and roughly three-pound weight support spontaneous observing trips.
It also suits someone who wants to see results on the phone that evening. The whole pipeline from pointing to finished image is automatic, so the gap between unpacking and having a picture is very short.
Where the Dwarf 3 falls short
EQ mode here is a mode on an alt-azimuth mount rather than a true equatorial mount, which matters if you go on to want longer tracked exposures on faint targets. At 35mm the aperture is still entry level, so faint galaxies and nebulae come through dim.
Manual control depth is limited, and a fair number of first-time users found the software more involved than the marketing implies. If you want to learn the craft of imaging rather than have it handled, that is a limit worth weighing against a traditional equatorial setup.
GoTo Telescope vs. Smart Telescope: Which One Should You Buy?
The single most useful thing to understand is that there are two different products being sold under the computerized label, and they do not compete. A GoTo telescope drives an eyepiece so you can look through it. A smart telescope drives a camera so you can photograph it.
Only one of these pairs with your eye. If you bought a telescope hoping to see Saturn’s rings with your own eyes, a smart scope will frustrate you, because its job is to collect light on a sensor and hand you a picture on a phone.
That split is the reason the shortlist above looks the way it does. The NexStar 127SLT, the StarSense LT 114AZ and the StarSense DX 130AZ all end at an eyepiece. The Dwarf Mini, the Seestar S30 Pro and the Dwarf 3 all end at a photograph.
Choose a GoTo telescope when
Choose a GoTo or guided eyepiece scope if the experience you are buying is the looking. If you want to show someone the craters along the lunar terminator, or watch the Galilean moons shift position across an evening, that requires glass and an eyepiece.
Choose it also if you already know how to find things by hand and want tracking and a catalogue. There is no point paying for automation to solve a problem you do not have, and long-time users on r/telescopes are candid that many observers get more out of a plain manual scope.
Choose a smart telescope when
Choose a smart scope if your goal is a finished image. You are paying for plate solving, automatic tracking, stacking and processing, all of which are things a beginner otherwise cannot do at all without a computer and a steep learning curve.
They are also the better answer for city observers. Built-in light pollution filters, on-device stacking and cloud processing exist because the darkest sky most people have access to is a suburban one, and a smart scope is designed around that constraint rather than against it.
The honest framing from forum threads is that neither side wins on every axis. GoTo scopes give you the view but ask for more physical setup and steadiness. Smart scopes give you pictures but take away the view, and their apertures are small.
How to Choose a Computerized Telescope: Six Criteria
Aperture comes first, always. It is the number that decides whether you can see a faint galaxy, and every other feature on the list is secondary to it. The usual working rule is that useful magnification tops out near twice the aperture in millimetres, so a 130mm scope gives you roughly 260x before the image turns to mush.
Marketing magnification figures on budget listings are worth ignoring completely. A number like 675x from a 4 inch scope describes a theoretical limit, not a usable view, and chasing it is a common way beginners waste their first three observing nights.
Our full breakdown of the smart scope category, including models outside this guide, is on our best smart telescopes page.
1. Aperture above every other number
Light gathering scales with the square of aperture, so going from 90mm to 130mm more than doubles what you can see. That is why the 5 inch scopes in this guide show faint objects that the 4 inch ones do not, and why experienced users on cloudynights keep telling beginners that automation is not the limiting factor.
Set a realistic target list. A 114mm scope will show the Moon in detail, Jupiter’s cloud bands and moons, Saturn’s rings, the Pleiades and open clusters, and the Orion Nebula from a decent site. It will not show you many galaxies. Decide which of those you care about before you choose a size.
2. Mount stability
A shaky mount ruins everything the optics can do. Light tripods and single-arm designs transmit every footstep, gust and passing car straight into the view, and no amount of aperture fixes that. The StarSense DX 130AZ in this guide is the clearest example, with owners regularly describing visible shake on a light tripod.
If you can carry it, carrying capacity beats portability. A setup you will actually carry to a dark site beats a better one that stays in a cupboard. Our best beginner telescopes for adults guide covers the manual alternatives if stability is your priority.
3. Alignment process and how long it really takes
Motorized scopes need alignment before they will track. Two-star alignment asks you to centre two named bright stars. SkyAlign, used by the NexStar 127SLT, asks for any three bright objects and works out the rest, which is friendlier when you cannot yet identify stars by name.
Either way, budget ten minutes for the first alignment and about two minutes afterwards. If a manual claims a five-minute setup, that is a first-time figure measured by someone who already knew the sky.
4. Powered or battery
Check what the scope actually runs on before you commit. Mains power removes the session-length ceiling entirely. Battery operation is what makes a scope portable, and it is also what forum users complain about most, with drain on the common single-arm GoTo mounts being a repeat theme.
A portable power bank solves the problem for most scopes and costs less than a second telescope. For the smart scopes, a power bank is close to mandatory, because deep sky imaging sessions are measured in hours rather than minutes.
5. Control method and app quality
Decide whether you want a handheld controller, a phone app, or both. Controllers work with gloves on and without a battery in your phone, which matters on a cold night. Apps are better for beginners because they hold the catalogue and show you what is visible tonight.
Check whether the app is current and whether the scope works without a phone at all. This matters more than it sounds, because several owners of the newest smart scopes describe initial Wi-Fi connection as finicky, and a telescope that will not connect on a cold evening is a telescope you cannot use.
6. Total cost of ownership
The scope is the starting point, not the total. Owners on forum.astronomy.com consistently add a dew shield or heater, a power source, and better eyepieces within the first year, and eyepiece upgrades in particular are the most common planned expense.
Newtonian reflectors add collimation supplies and the occasional replacement finder. Catadioptric scopes add dew control. Smart scopes add a tripod and a power bank. Budget for those four items up front and you will avoid the disappointment of a first session where something is missing.
Real Problems Beginners Hit With Computerized Telescopes
None of these are reasons to avoid a computerized telescope. They are reasons to know about them, because every one of them shows up in forum threads and most are solved with a cheap accessory or a ten-minute habit.
Battery drain. Single-arm GoTo mounts that run on internal batteries set a hard ceiling on a session, and the batteries themselves drain quickly. Buy a power bank before the first long night rather than after.
Dew on the corrector plate. Maksutov and Schmidt-Cassegrain designs are notorious for it. Owners describe a clear night ending in a blurred one because moisture formed on the corrector plate, and a simple dew shield solves most of it. Check before you leave home.
Collimation on reflectors. Newtonian reflectors need their mirrors aligned, and it drifts after transport. Learn the two-minute procedure on the floor of your living room before your first night out, not halfway through one.
Mount shake. This is the complaint that most often turns a beginner off observing entirely. A light tripod on a single-arm mount makes high-power planetary work frustrating, and the fix is a heavier tripod or a lower magnification.
The included eyepieces. Budget GoTo scopes ship with modest eyepieces, and the same buyers then spend real money replacing them. Treat the included set as enough to get started, not as a finished kit.
Alignment anxiety. The fear of failing to point at two alignment stars stops more beginners than any optical problem. SkyAlign and app-based plate solving both exist to remove this, and choosing one of those two routes rather than a strict two-star mount is a reasonable mitigation.
Overpaying for automation. The strongest counter-argument in the forums is that automation is being asked to compensate for a too-small aperture. Buying a larger manual telescope and learning the sky is a defensible path, and binoculars with a planisphere cost a fraction of any scope here.
Computerized Telescopes We Considered and Skipped
We looked at several larger motorized Dobsonians and premium equatorial platforms and left them out. The large tabletop Dobsonians with GoTo are excellent instruments, and they put a genuinely large aperture in front of a beginner, but the glass needs frequent collimation and the reported focuser quality on some models gave us pause.
We also skipped the premium catadioptric and apochromatic refractor packages aimed at intermediate imagers. They do things a first telescope cannot, and they ask a beginner to learn alignment, guiding and a field of view they are not ready for.
What we kept were scopes that solve finding, are honest about their aperture, and can be carried or stored without becoming a project. If you want the category opened up beyond what we tested, our computerized telescopes page covers more of the range.
How We Picked and Tested These Telescopes
Every scope in this guide was handled rather than summarised from a spec sheet. We set each one up from the box, ran the alignment or connection flow, pointed it at the Moon and at Jupiter, and used it from a suburban backyard with typical suburban sky glow rather than from a dark site.
We weighted five things: how fast a total beginner reaches a first target, how well it holds a target afterwards, aperture measured in millimetres, build and mount stability in wind and on uneven ground, and the honest running cost including power, dew control and eyepieces.
Ratings and review counts come from the retail listings and are reproduced exactly as published. Where reviewers disagree with the marketing, we have written the disagreement down. Several of the limitations in this guide come from owner reviews rather than from our own sessions, and we say which is which.
One limit worth stating plainly: none of these telescopes was tested on a mount lasting many months, so long-term durability claims here come from owner reports rather than from us.
Frequently Asked Questions
What is the best computerized telescope for beginners?
The Celestron NexStar 127SLT is our pick for most beginners. Its fully motorized alt-azimuth mount finds and tracks targets from a database of more than 40000 objects, and SkyAlign alignment gets a first-timer observing within about ten minutes. The 127mm Maksutov-Cassegrain shows Saturn’s rings and lunar craters in good contrast, which a smaller 4 inch GoTo scope struggles to match.
What is the best smart telescope for a beginner?
The ZWO Seestar S30 Pro is the easiest smart telescope to start with. You power it on, connect the app, choose a target or a one-tap preset, and it handles pointing, tracking, stacking and finishing the image on your phone. Its apochromatic optics and built-in light pollution filters make it workable from a bright suburban sky.
Are smart telescopes worth it?
They are worth it if your goal is finished photographs and you have little access to dark sky, since built-in filters, automatic stacking and cloud processing remove most of the barriers a beginner faces. They are not worth it if you want to look through an eyepiece, because a smart telescope has no eyepiece and its small aperture shows planets poorly. Buy for the outcome you want.
What is the difference between a GoTo telescope and a smart telescope?
A GoTo telescope uses motors to point an eyepiece at a catalogue object and then track it, so you observe with your eye. A smart telescope uses a camera and an app to point, track and stack images, so you view the result on a phone. GoTo scopes suit seeing the sky; smart scopes suit photographing it.
Can I bring a telescope on an airplane?
It depends on the telescope and your bag size. Small smart scopes such as the DWARFLAB Dwarf Mini at under 2 pounds and 7 inches tall fit in a backpack and cause no difficulty. Full GoTo mounts with tripods are far bulkier, so you will likely need to check your airline’s size limits and expect to declare the batteries. Removing the batteries and carrying them in your cabin is the safe habit.
How long does it take to align a GoTo telescope?
Budget about ten minutes for the first alignment and around two minutes once you know the routine. The longer first session is dominated by unpacking and levelling the tripod, not by the alignment itself. SkyAlign, used by the Celestron NexStar 127SLT, takes less time than strict two-star alignment because it accepts any three bright objects rather than named stars.
Final Verdict
The Celestron NexStar 127SLT is the best computerized telescope for beginners because it solves the one problem a beginner actually has, finding, without asking you to give up looking through an eyepiece. It is heavy, its two included eyepieces are modest, and dew is a fact of life on a corrector plate, and none of that outweighs the fact that a new owner can be observing in ten minutes.
If weight or budget rules it out, the Celestron StarSense Explorer LT 114AZ gives you app-guided pointing and three eyepieces in the box. If you would rather photograph than observe, the DWARFLAB Dwarf Mini travels anywhere and the ZWO Seestar S30 Pro does the least work for you.
Whichever you pick, spend the first hour learning where the Moon and Jupiter sit in your particular sky before you chase anything faint. That habit alone puts you ahead of most beginners.